Looking for the perfect holiday happy or neighbor gift? Today I’m sharing these adorable DIY mason jars (with real lights!) that cost under $10 to make, and under 10 minutes to put together! This is perfect as a small centerpiece, or for us, a lovely little reminder of Christmas that sits on the kitchen counter. This is the easiest DIY that anyone can make, and is a wonderful craft for kiddos as well!
This year has been a big adjustment for us as we moved into an apartment, and instead of having only one neighbor back in Oxford, we now have a whole hall full of neighbors here in Florida! Gifting food or baked goods was scratched off the list for hallway buddies (is she deathly allergic to peanuts? is she gluten free?), but I wanted to make something from the heart. Enter the mason jar mini! Ready to make this sweet little thing? Let’s go!
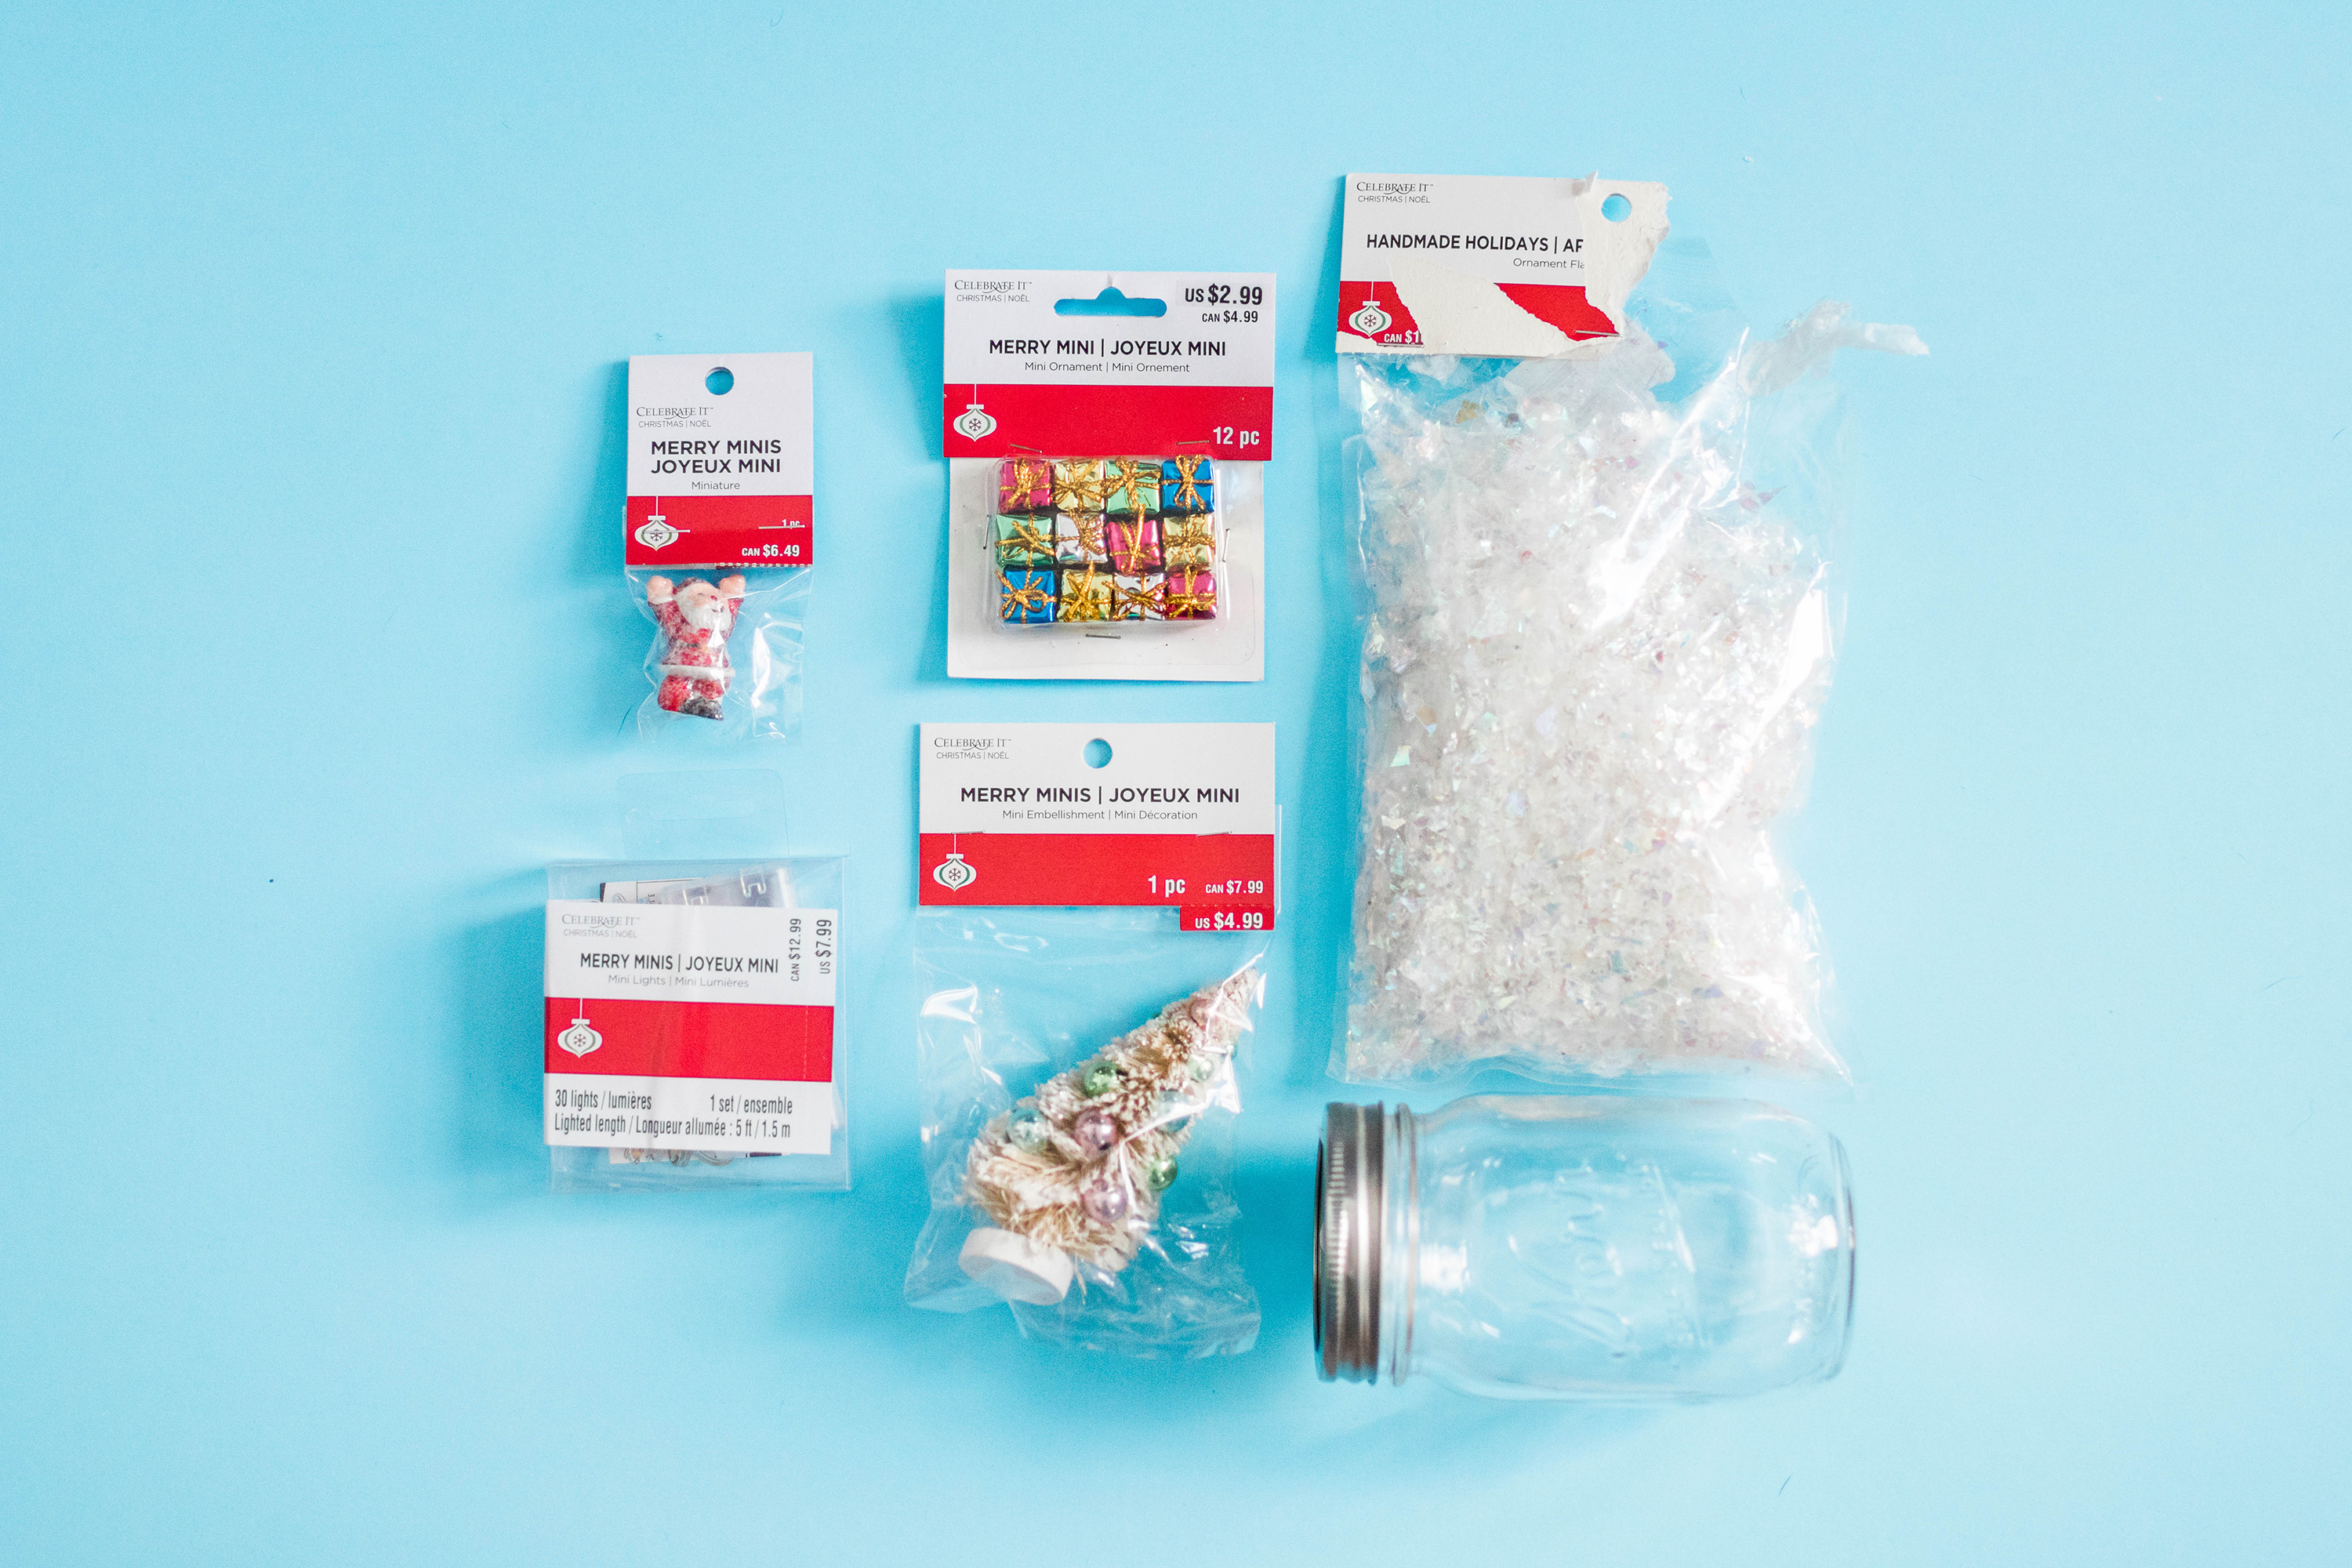
Michael’s (the craft store) is having a huge blowout sale on all things holiday, and nearly everything you need to make this little snow globe is on sale! Here are the items that I’ve purchased from Michaels (but you can totally find the equivalents at Hobby Lobby too).
What you’ll need:
Kerr mason jar: $2.99 $.99
Merry Minis LED lights: $7.99 60% off $3.19
Merry Minis Christmas tree: $4.99 60% off $1.99
Merry Minis Christmas gifts: $2.99 60% off $1.19
Celebrate It Handmade Holidays iridescent snow flurries: $6.99 60% off $2.63
2 AA batteries
tweezers
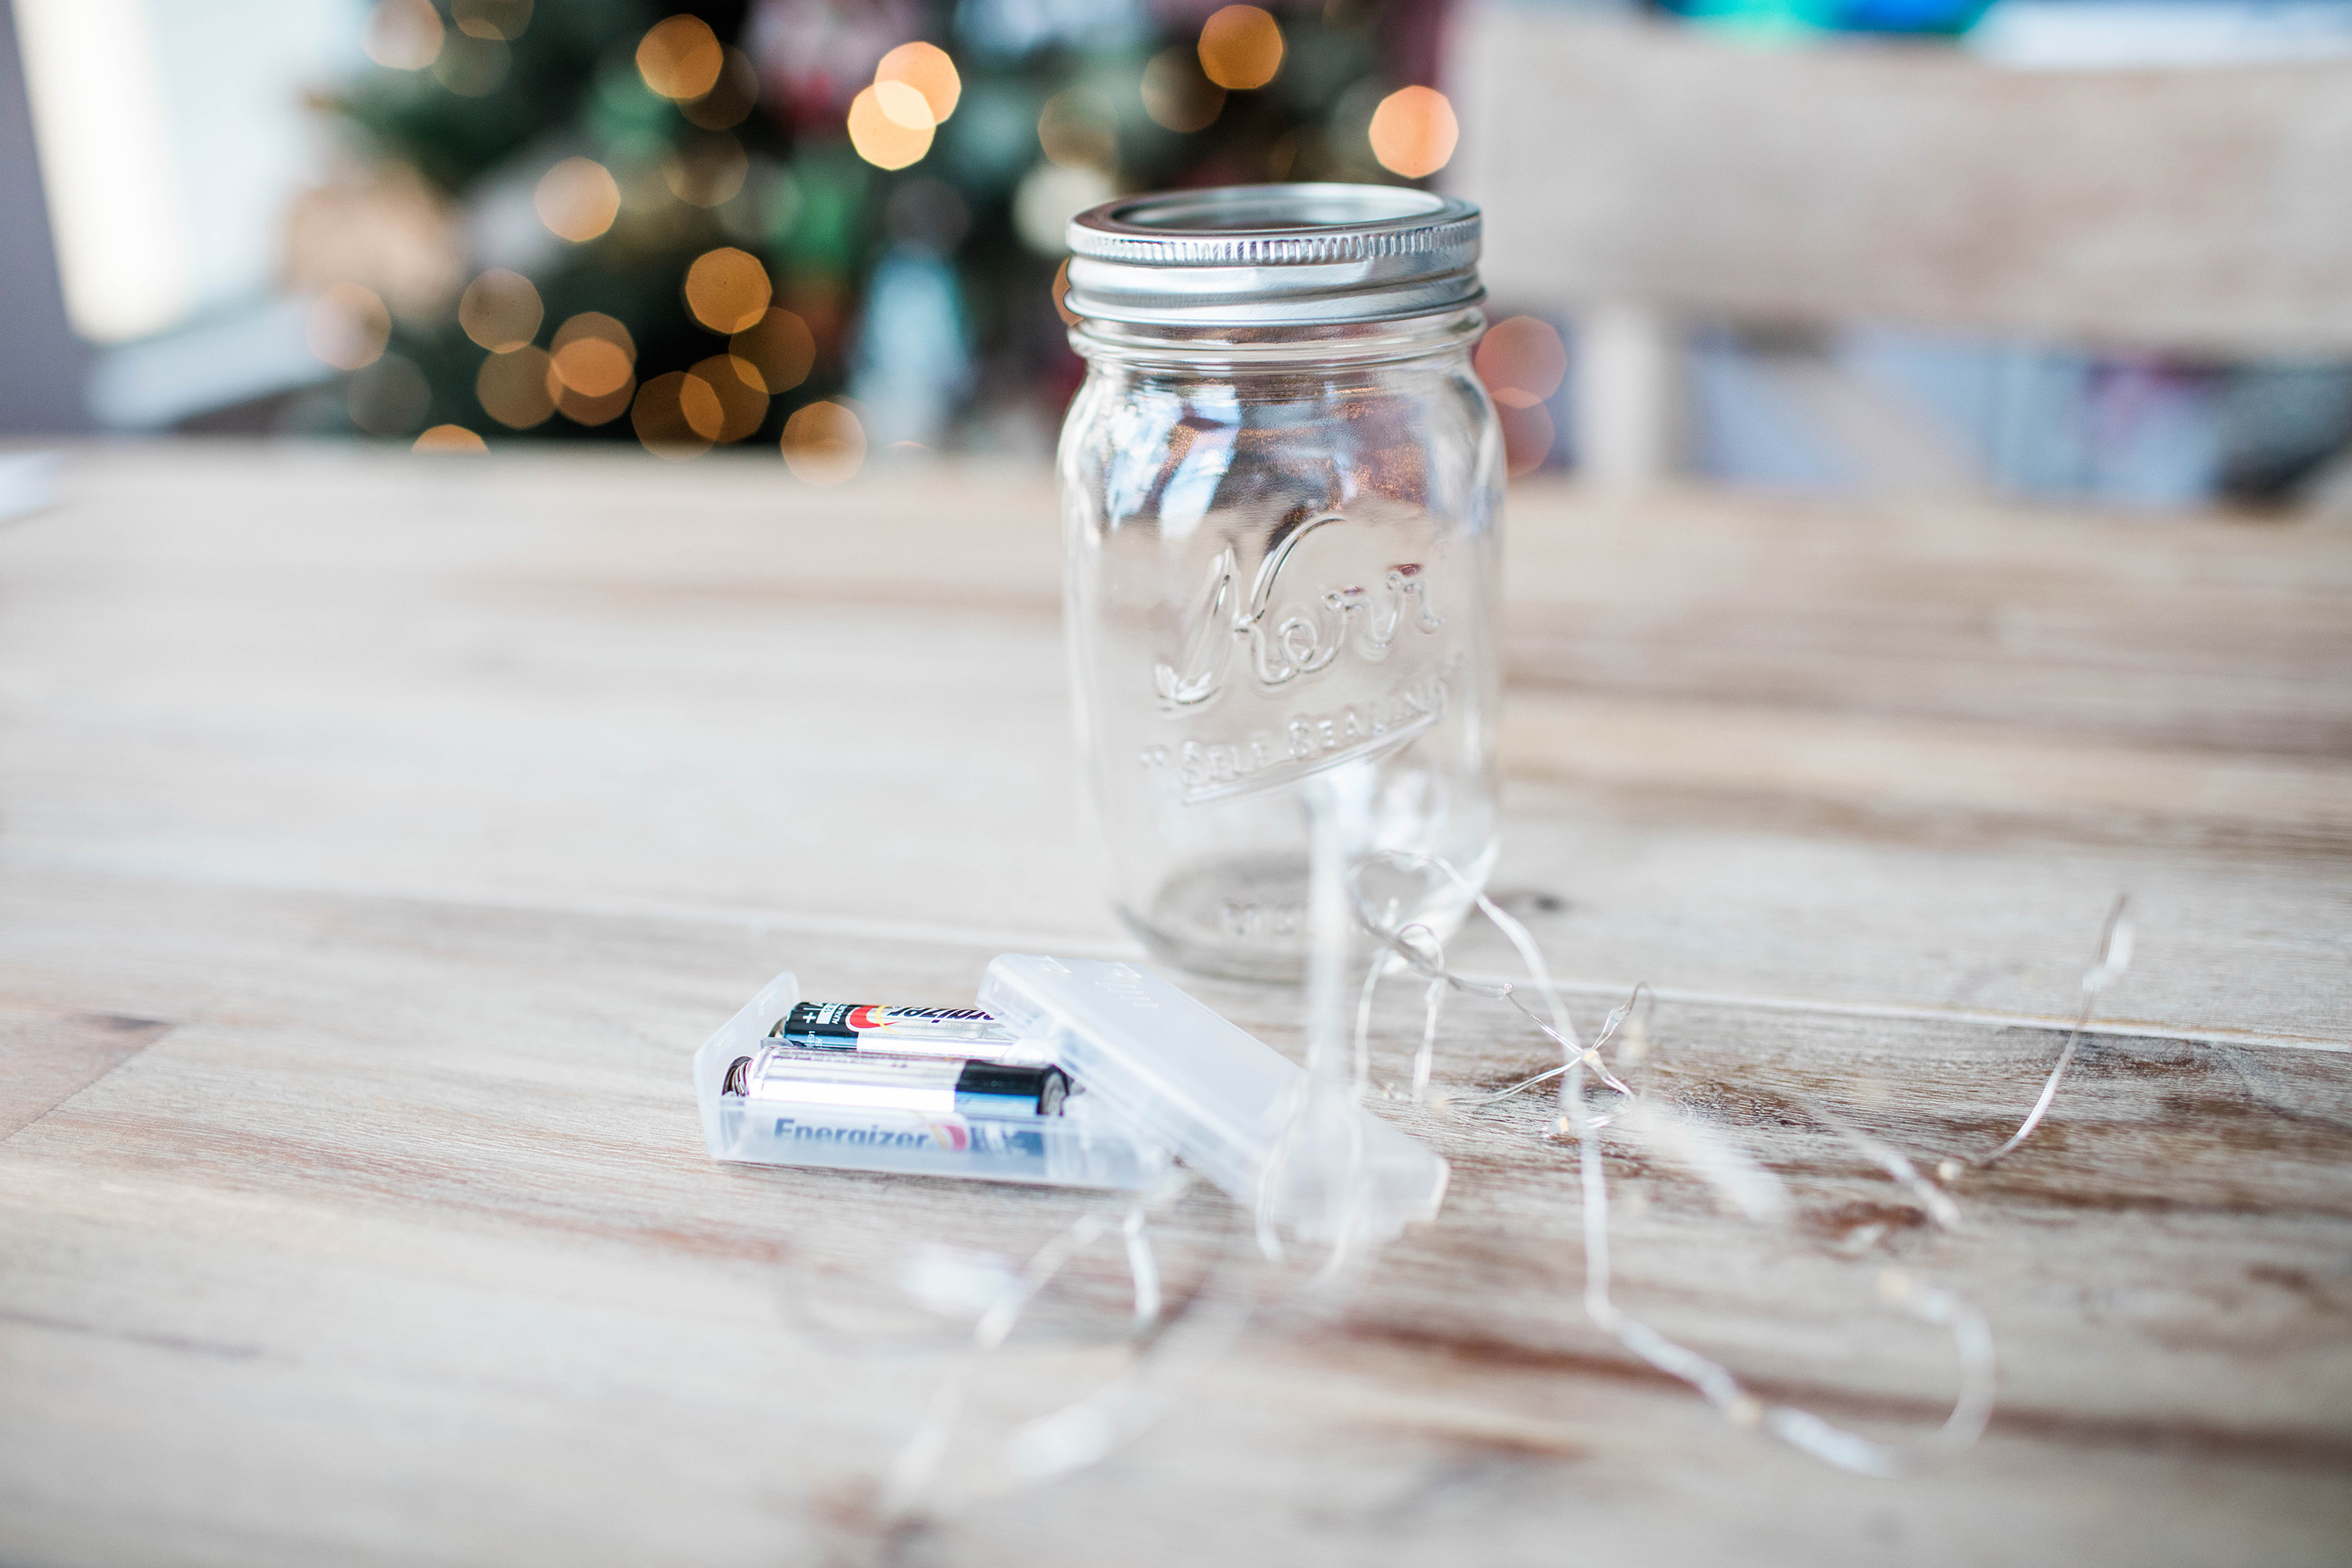
Step 1: unravel the mini LED string of lights (it’s a wire string) and put two AA batteries in the switch. You’ll want to do this first so you can move the string as needed in the jar.
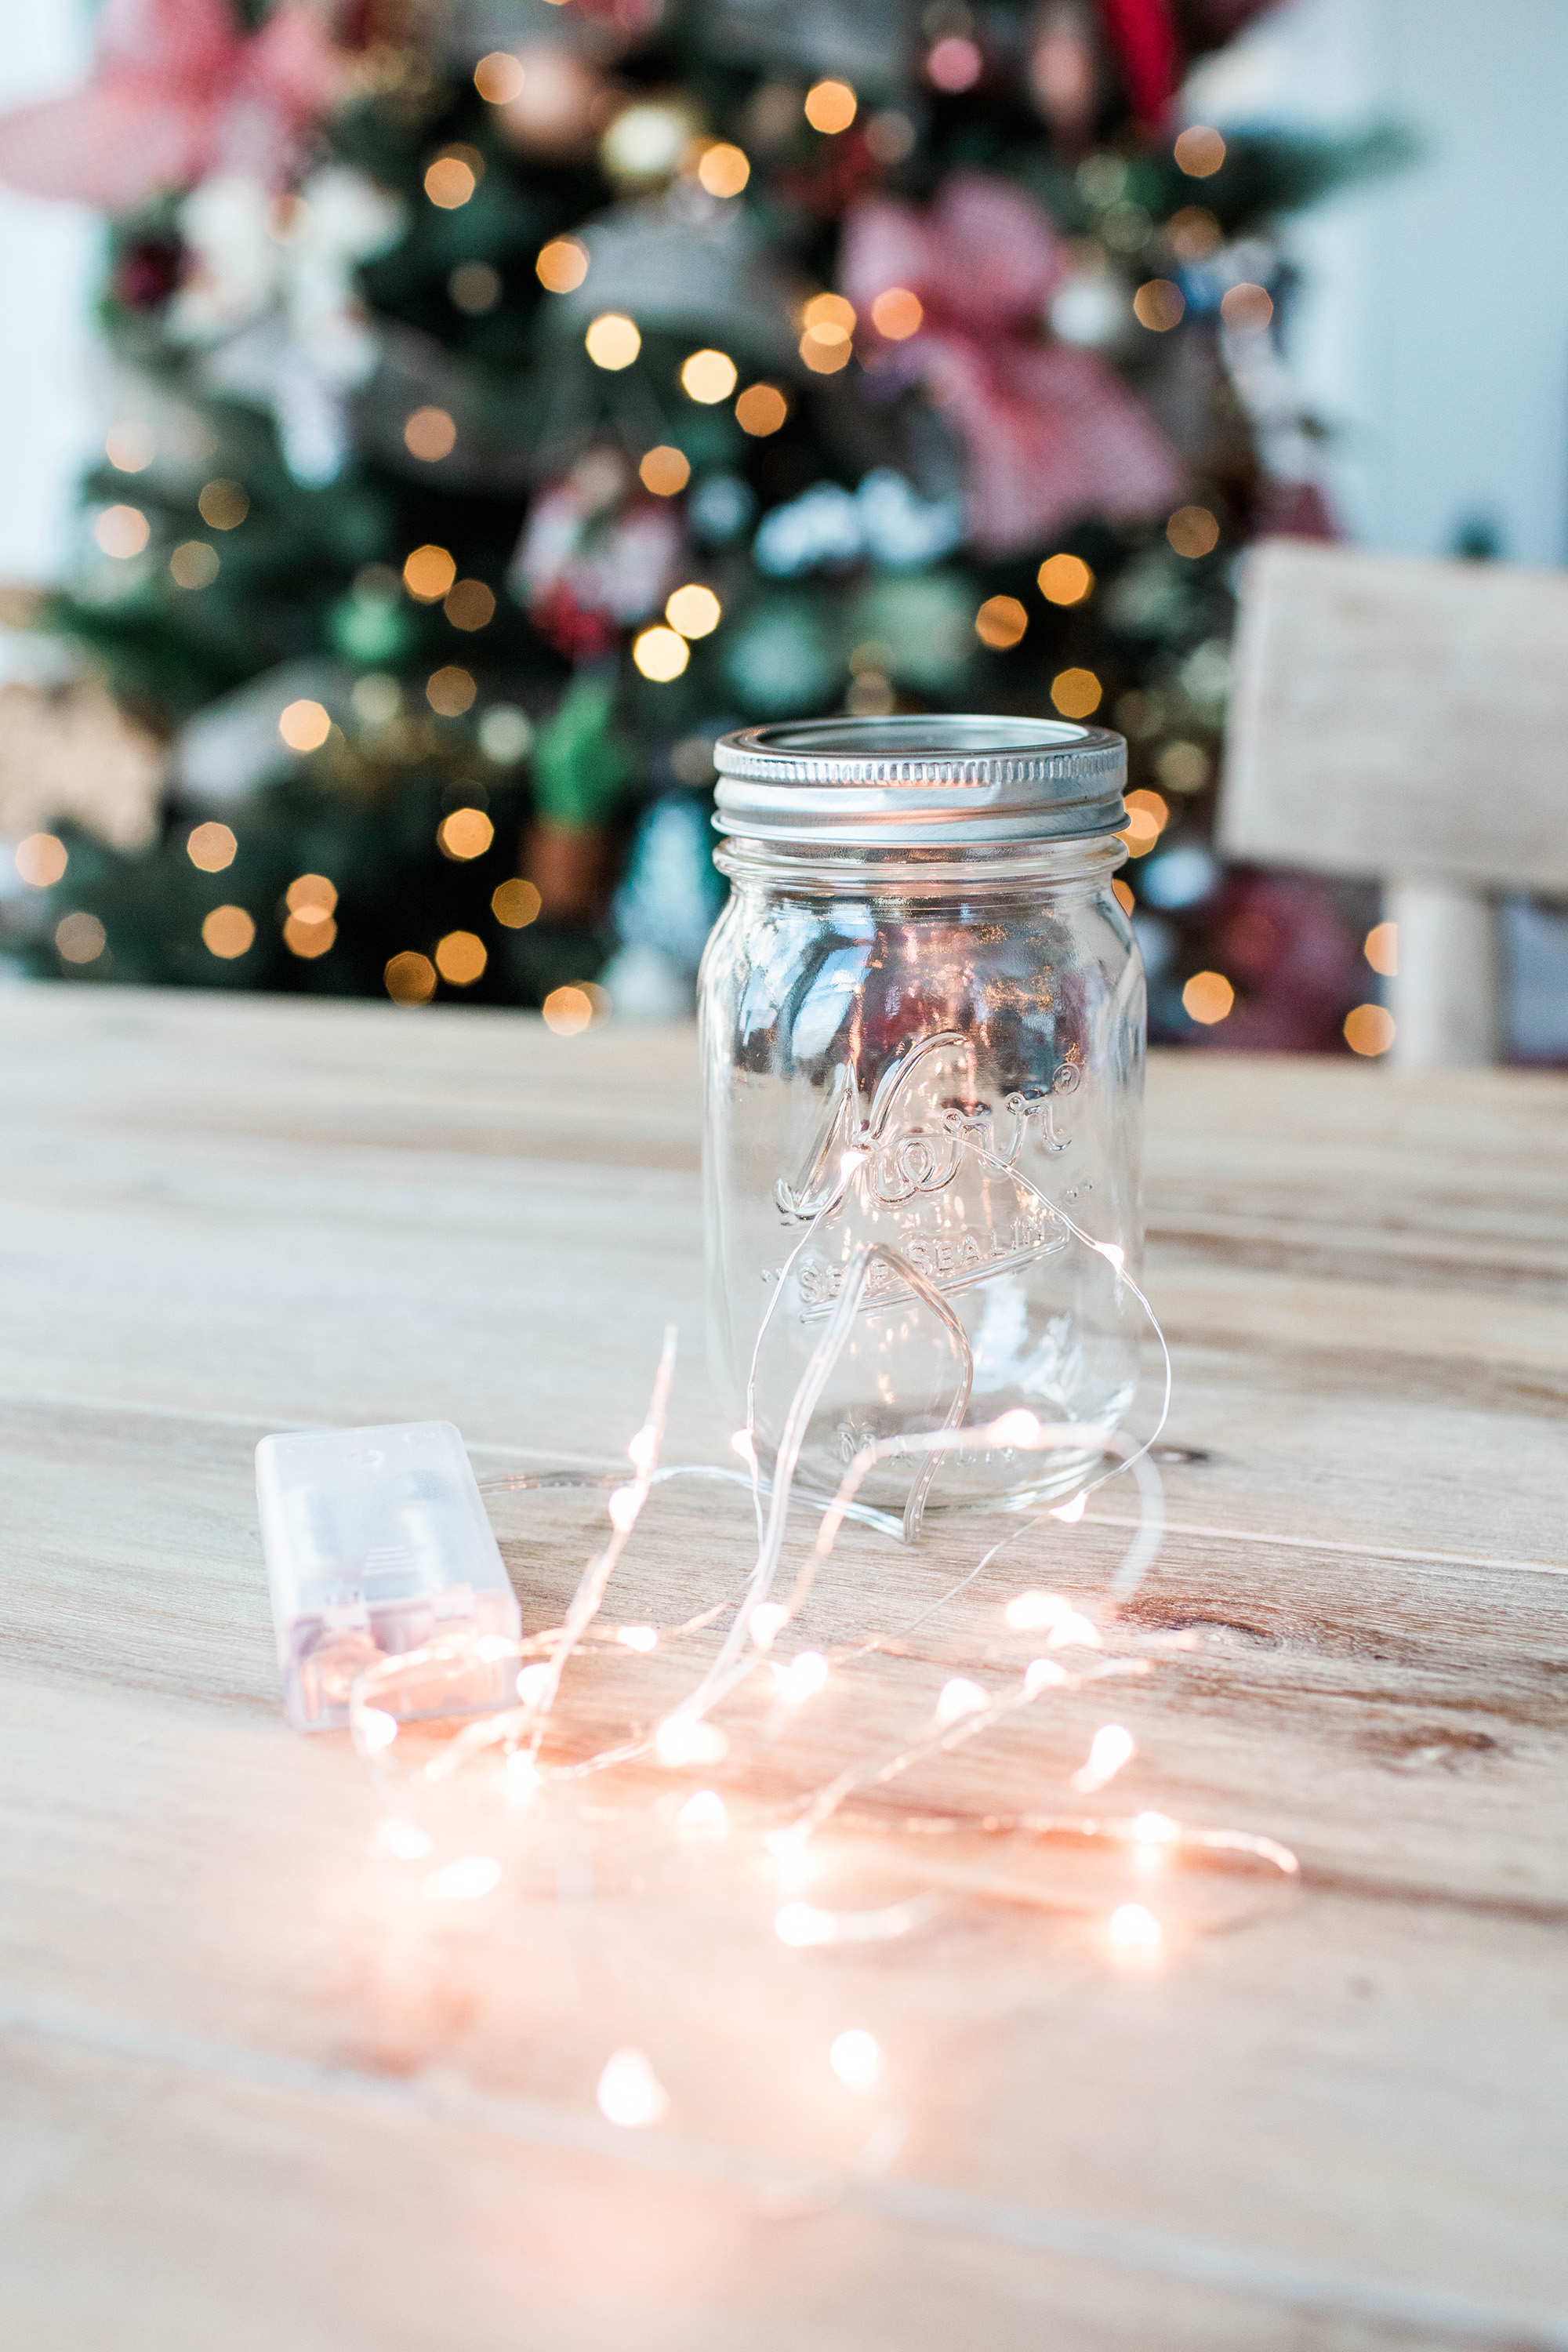
Step 2: turn those little lights on!

Step 3: wrap the strand of lights into a small circle, about two inches in circumference.
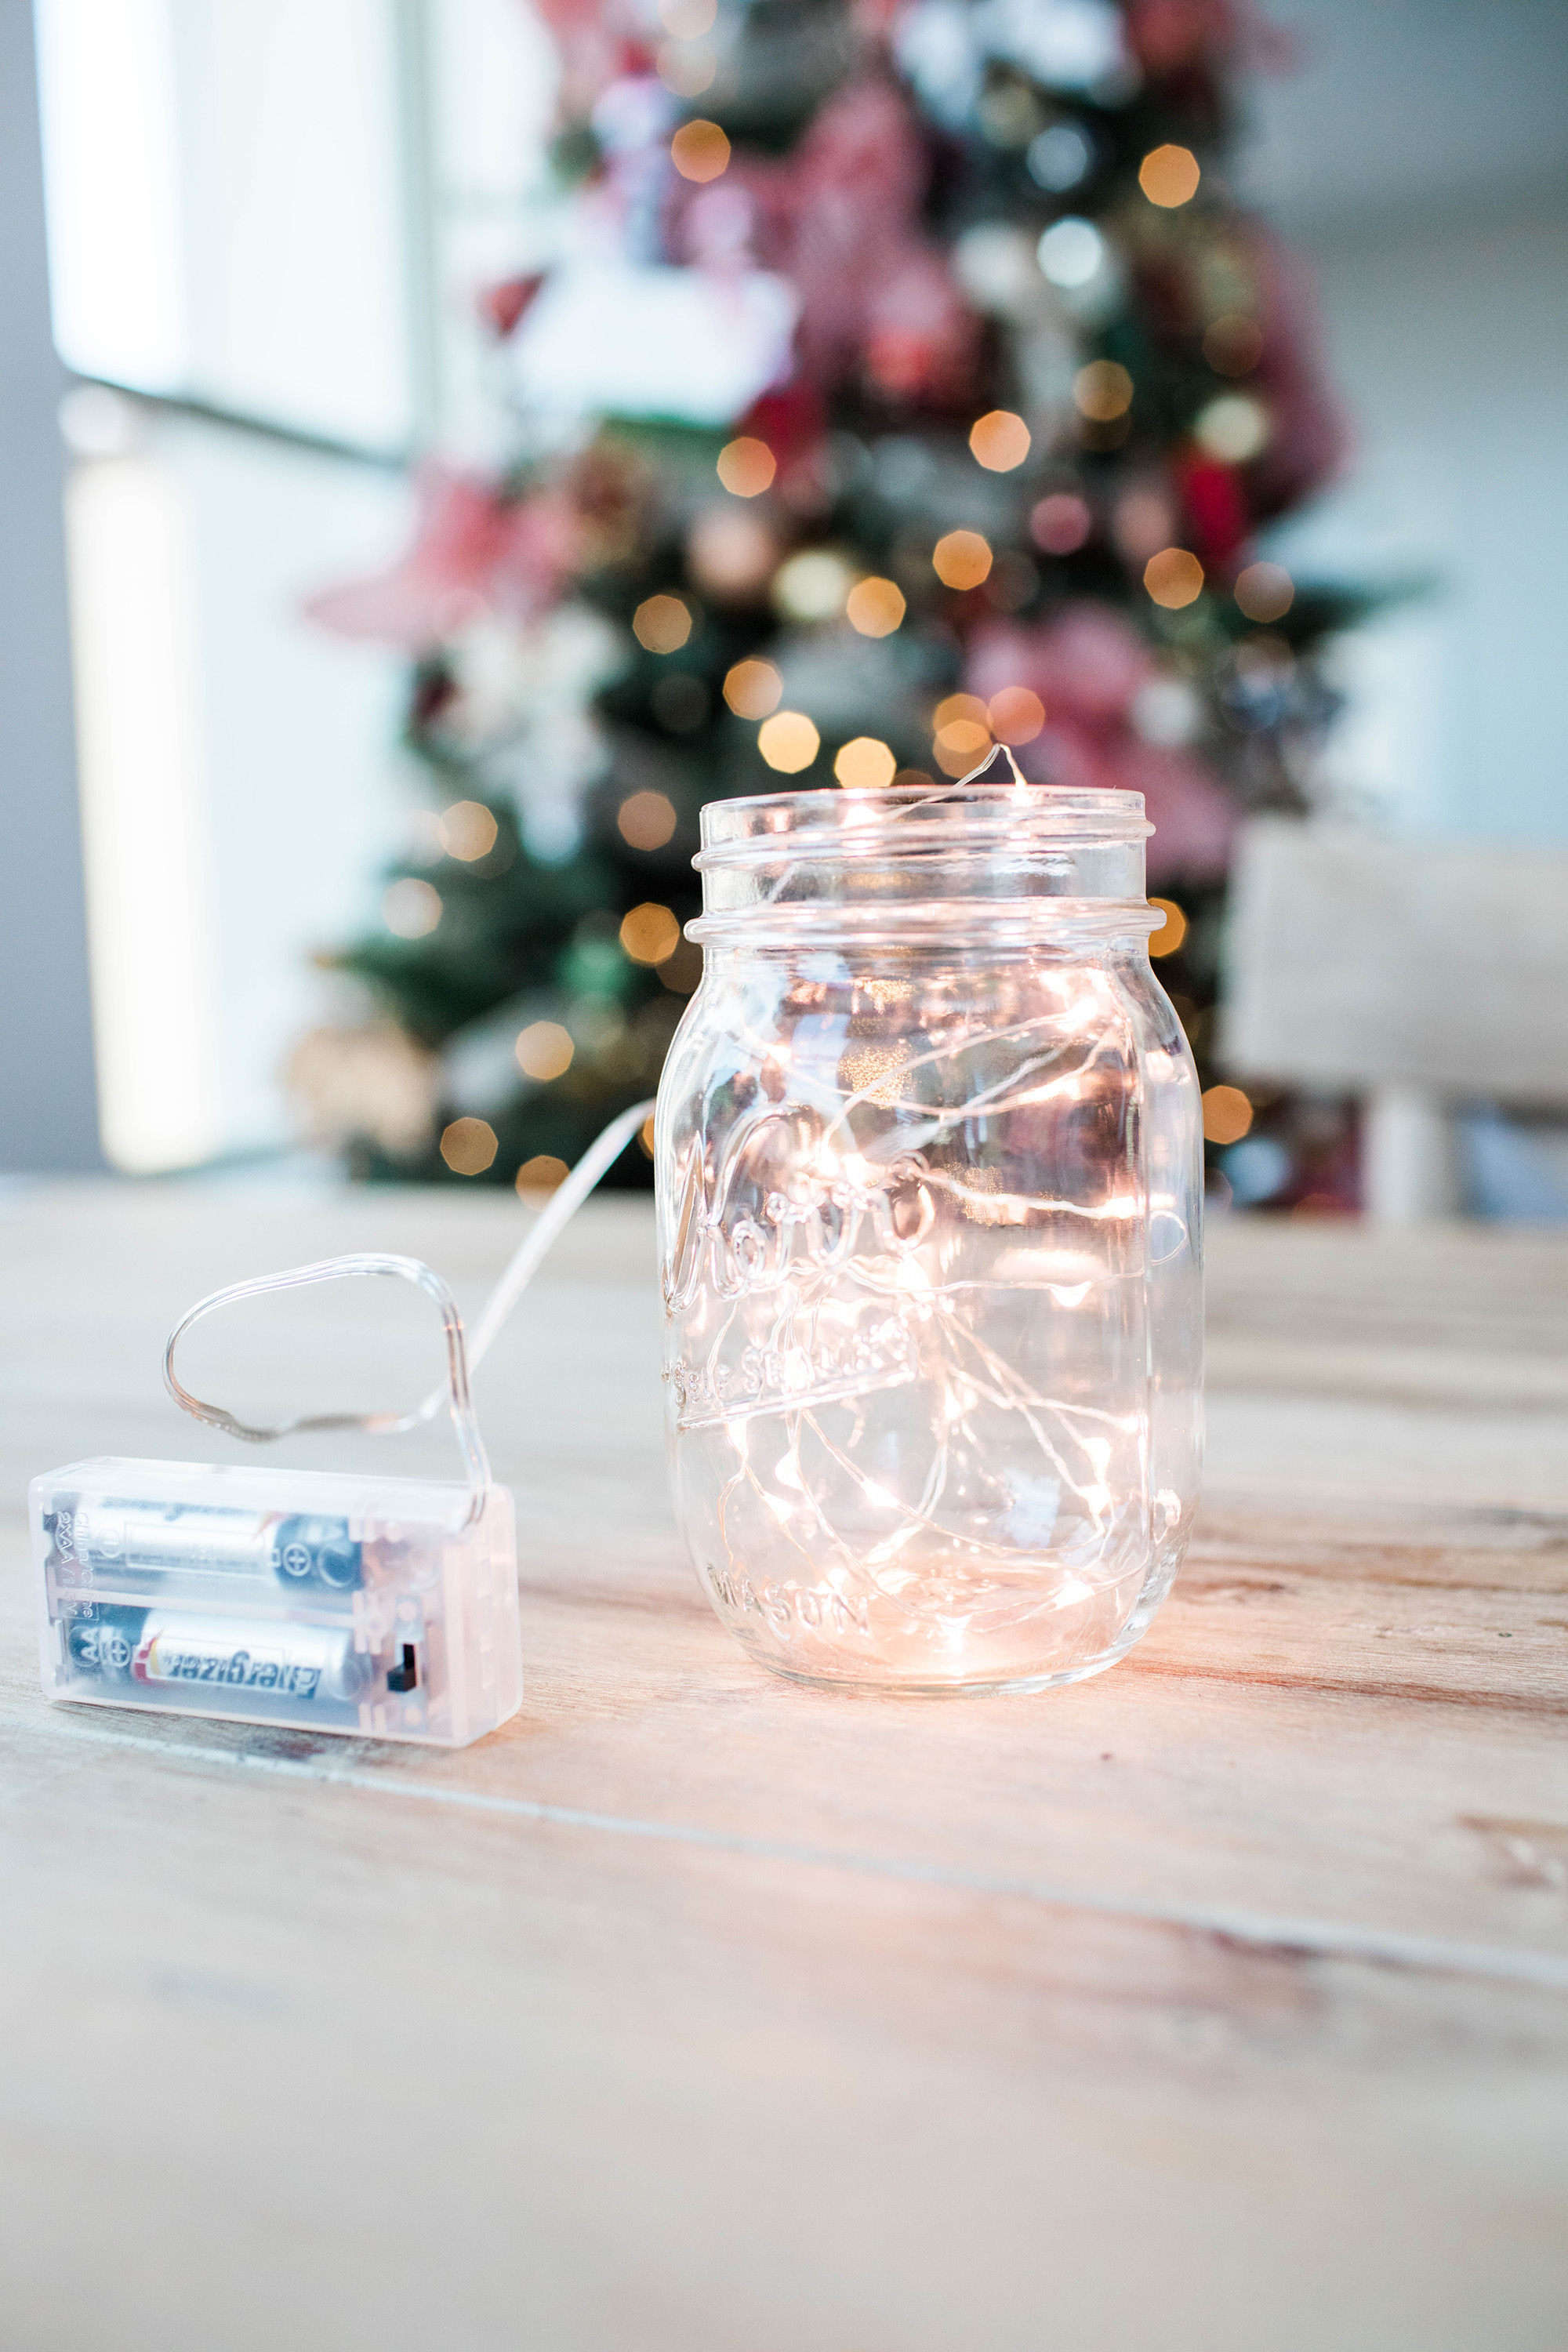
Step 4: place the lights in the mason jar, and work the lights to make them spiral upward. Be sure to leave enough length in the wire strand so the battery pack can comfortably rest on the table/surface.
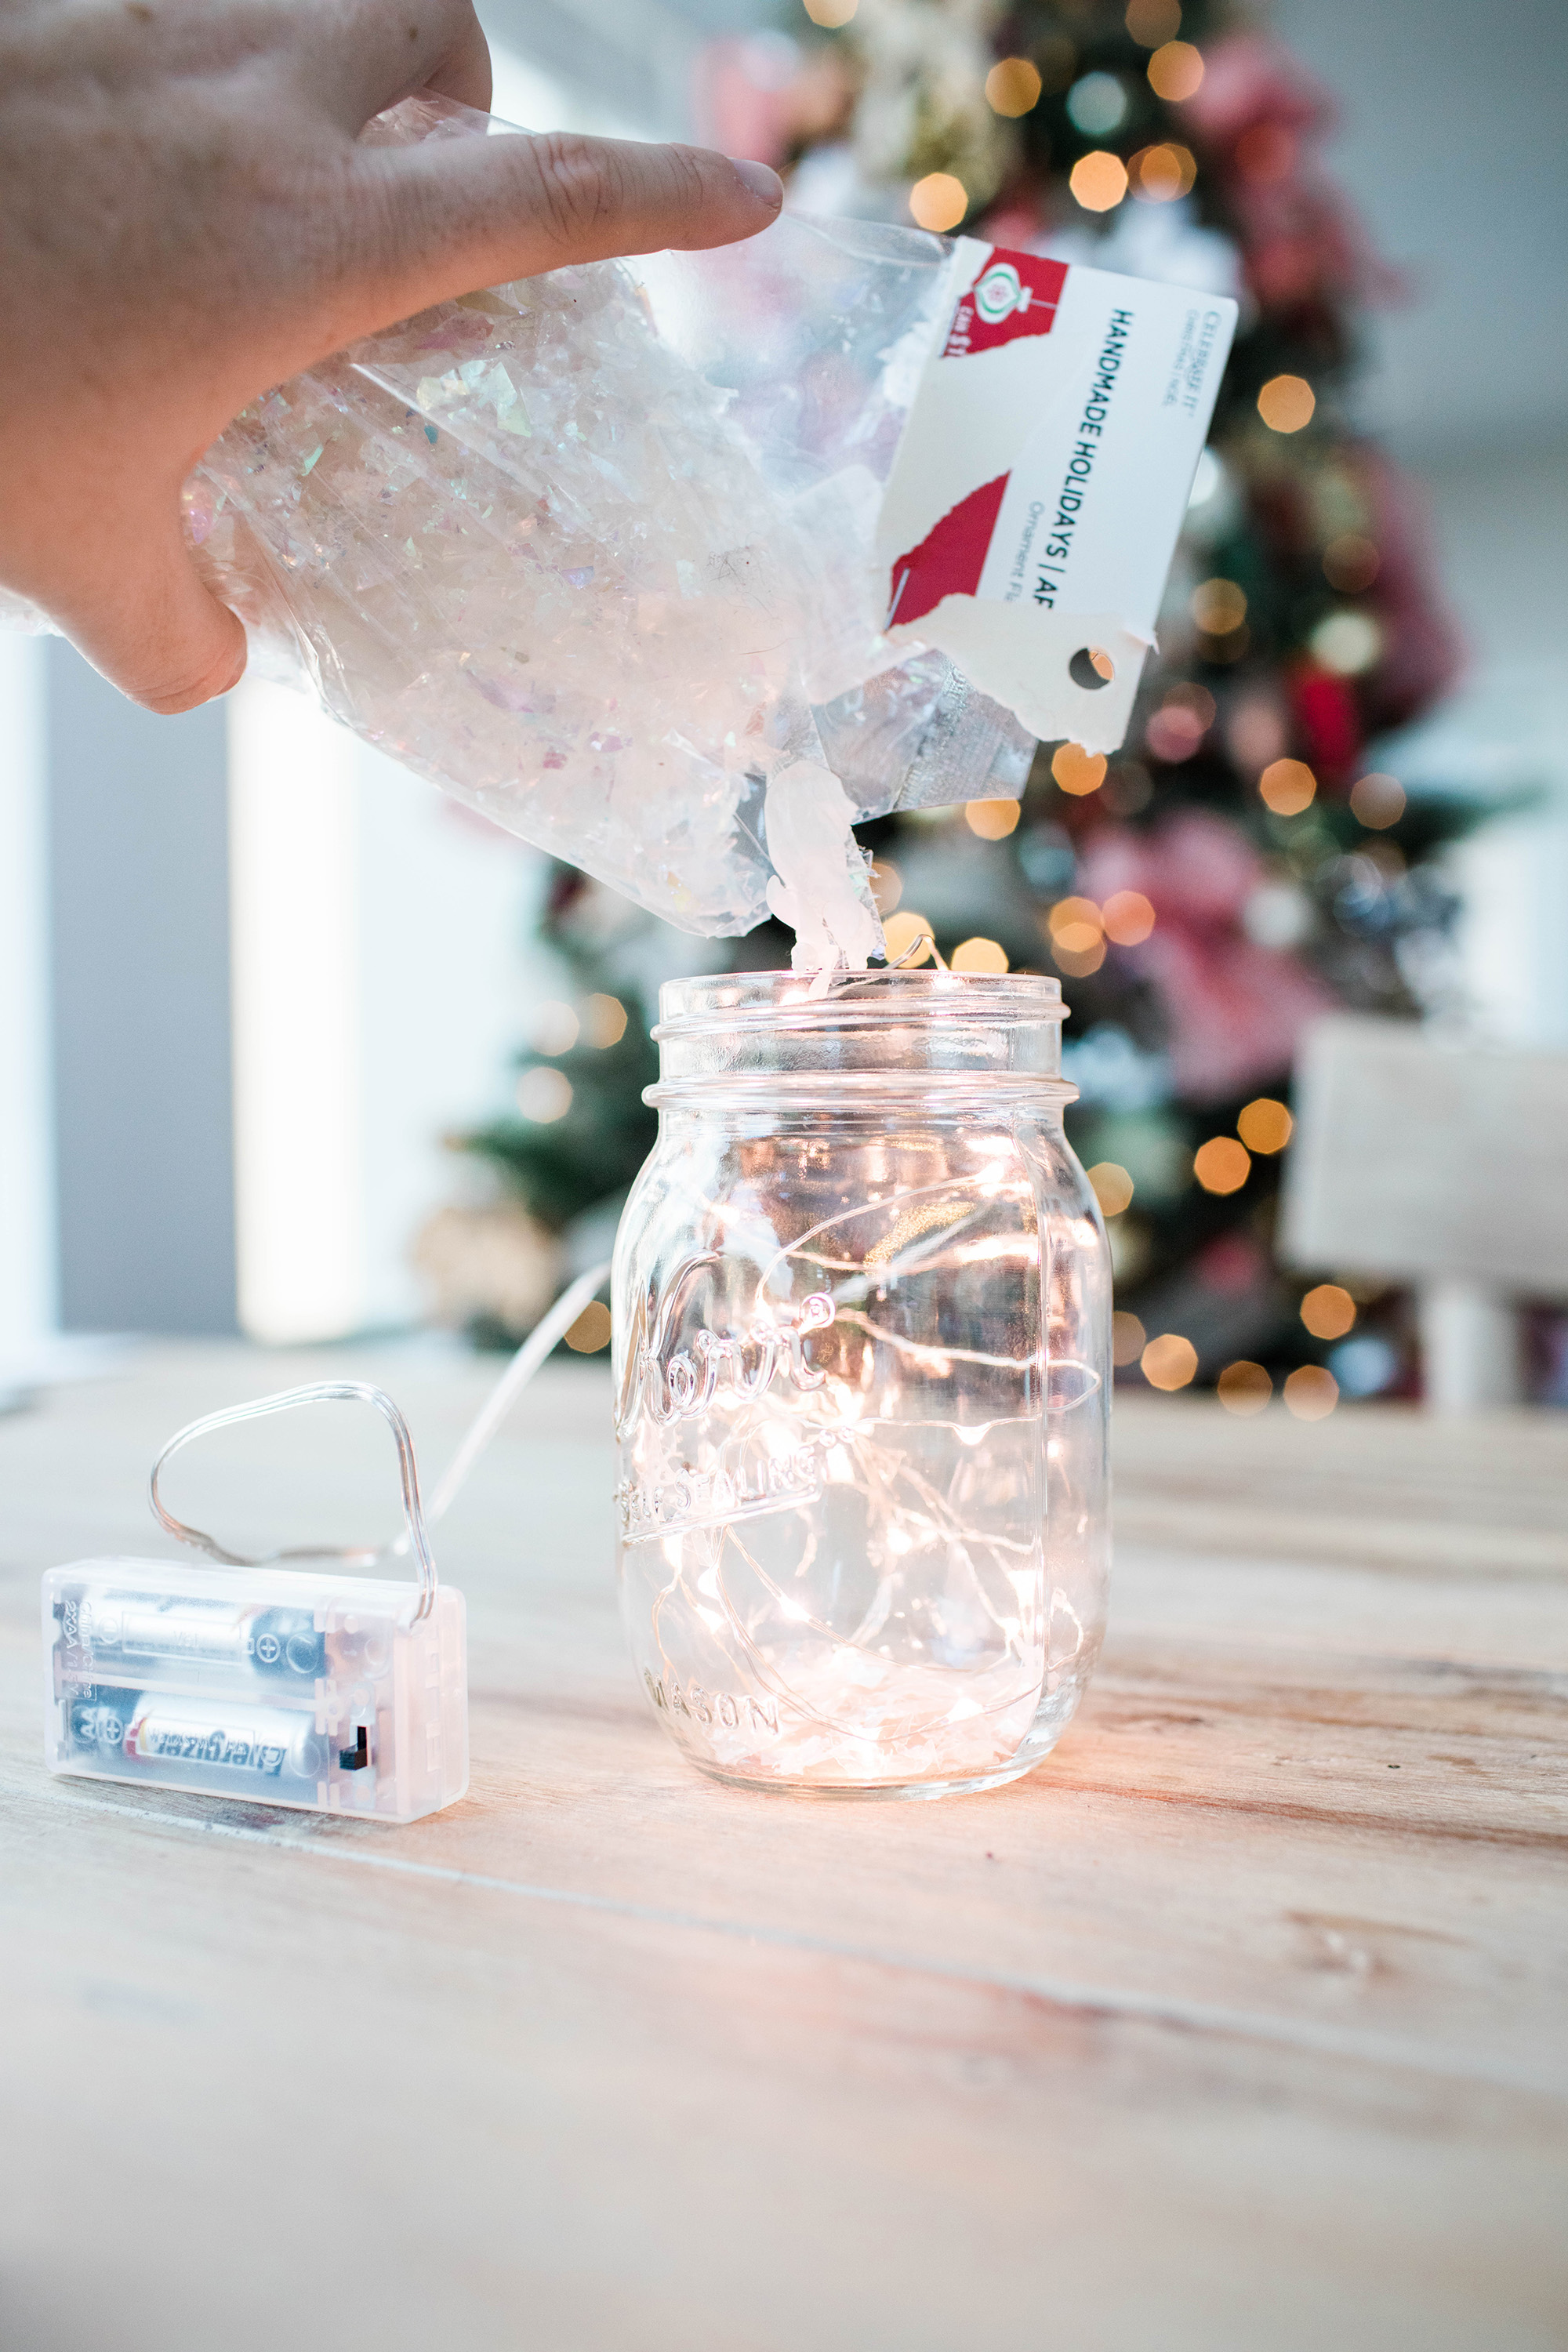
Step 5: pour in the snowflakes! I like to have about an inch and a half in the bottom of the mason jar. Covering the some of the LED lights with the snowflakes will give the mason jar a nice glow.

Step 6: unpack your little Christmas tree, and fluff it up! Sometimes these little bottle brush trees can get mangled and mashed, so use your fingers to gently fix those little trouble spots.
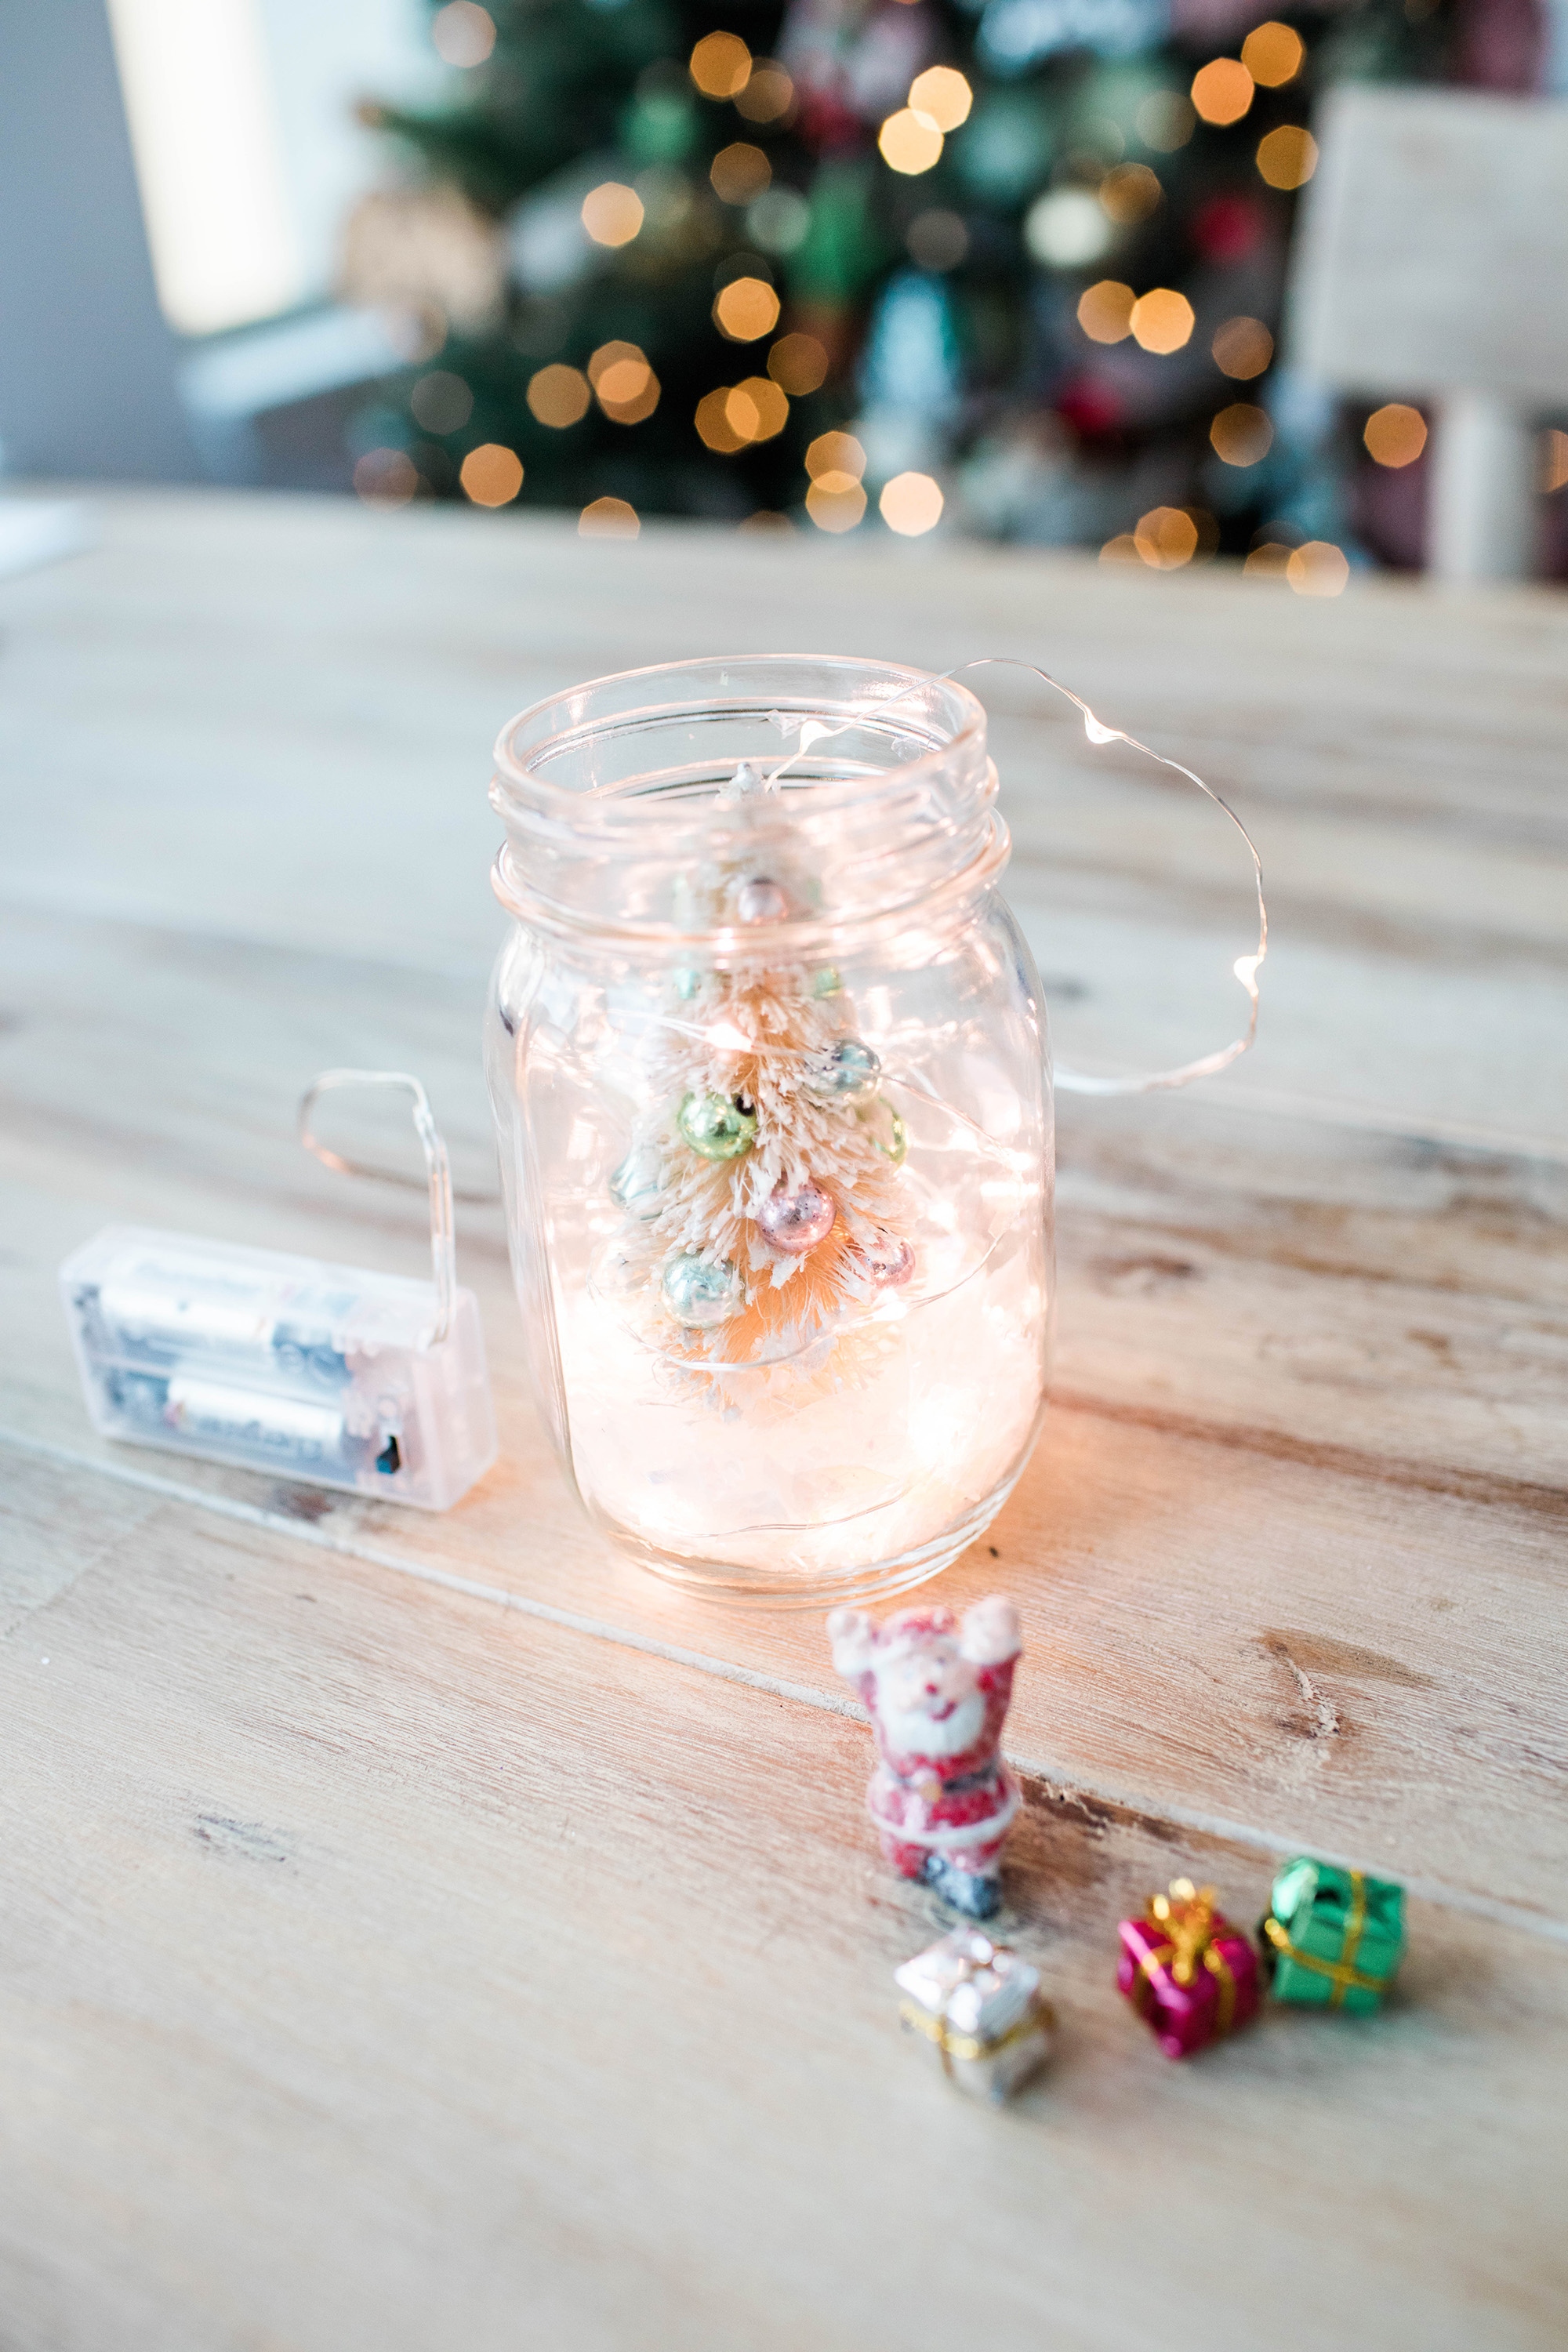
Step 7: Place the tree in the middle of the mason jar. You might have to tweak a section of the lights to make sure they are closer to the glass, and not the tree.
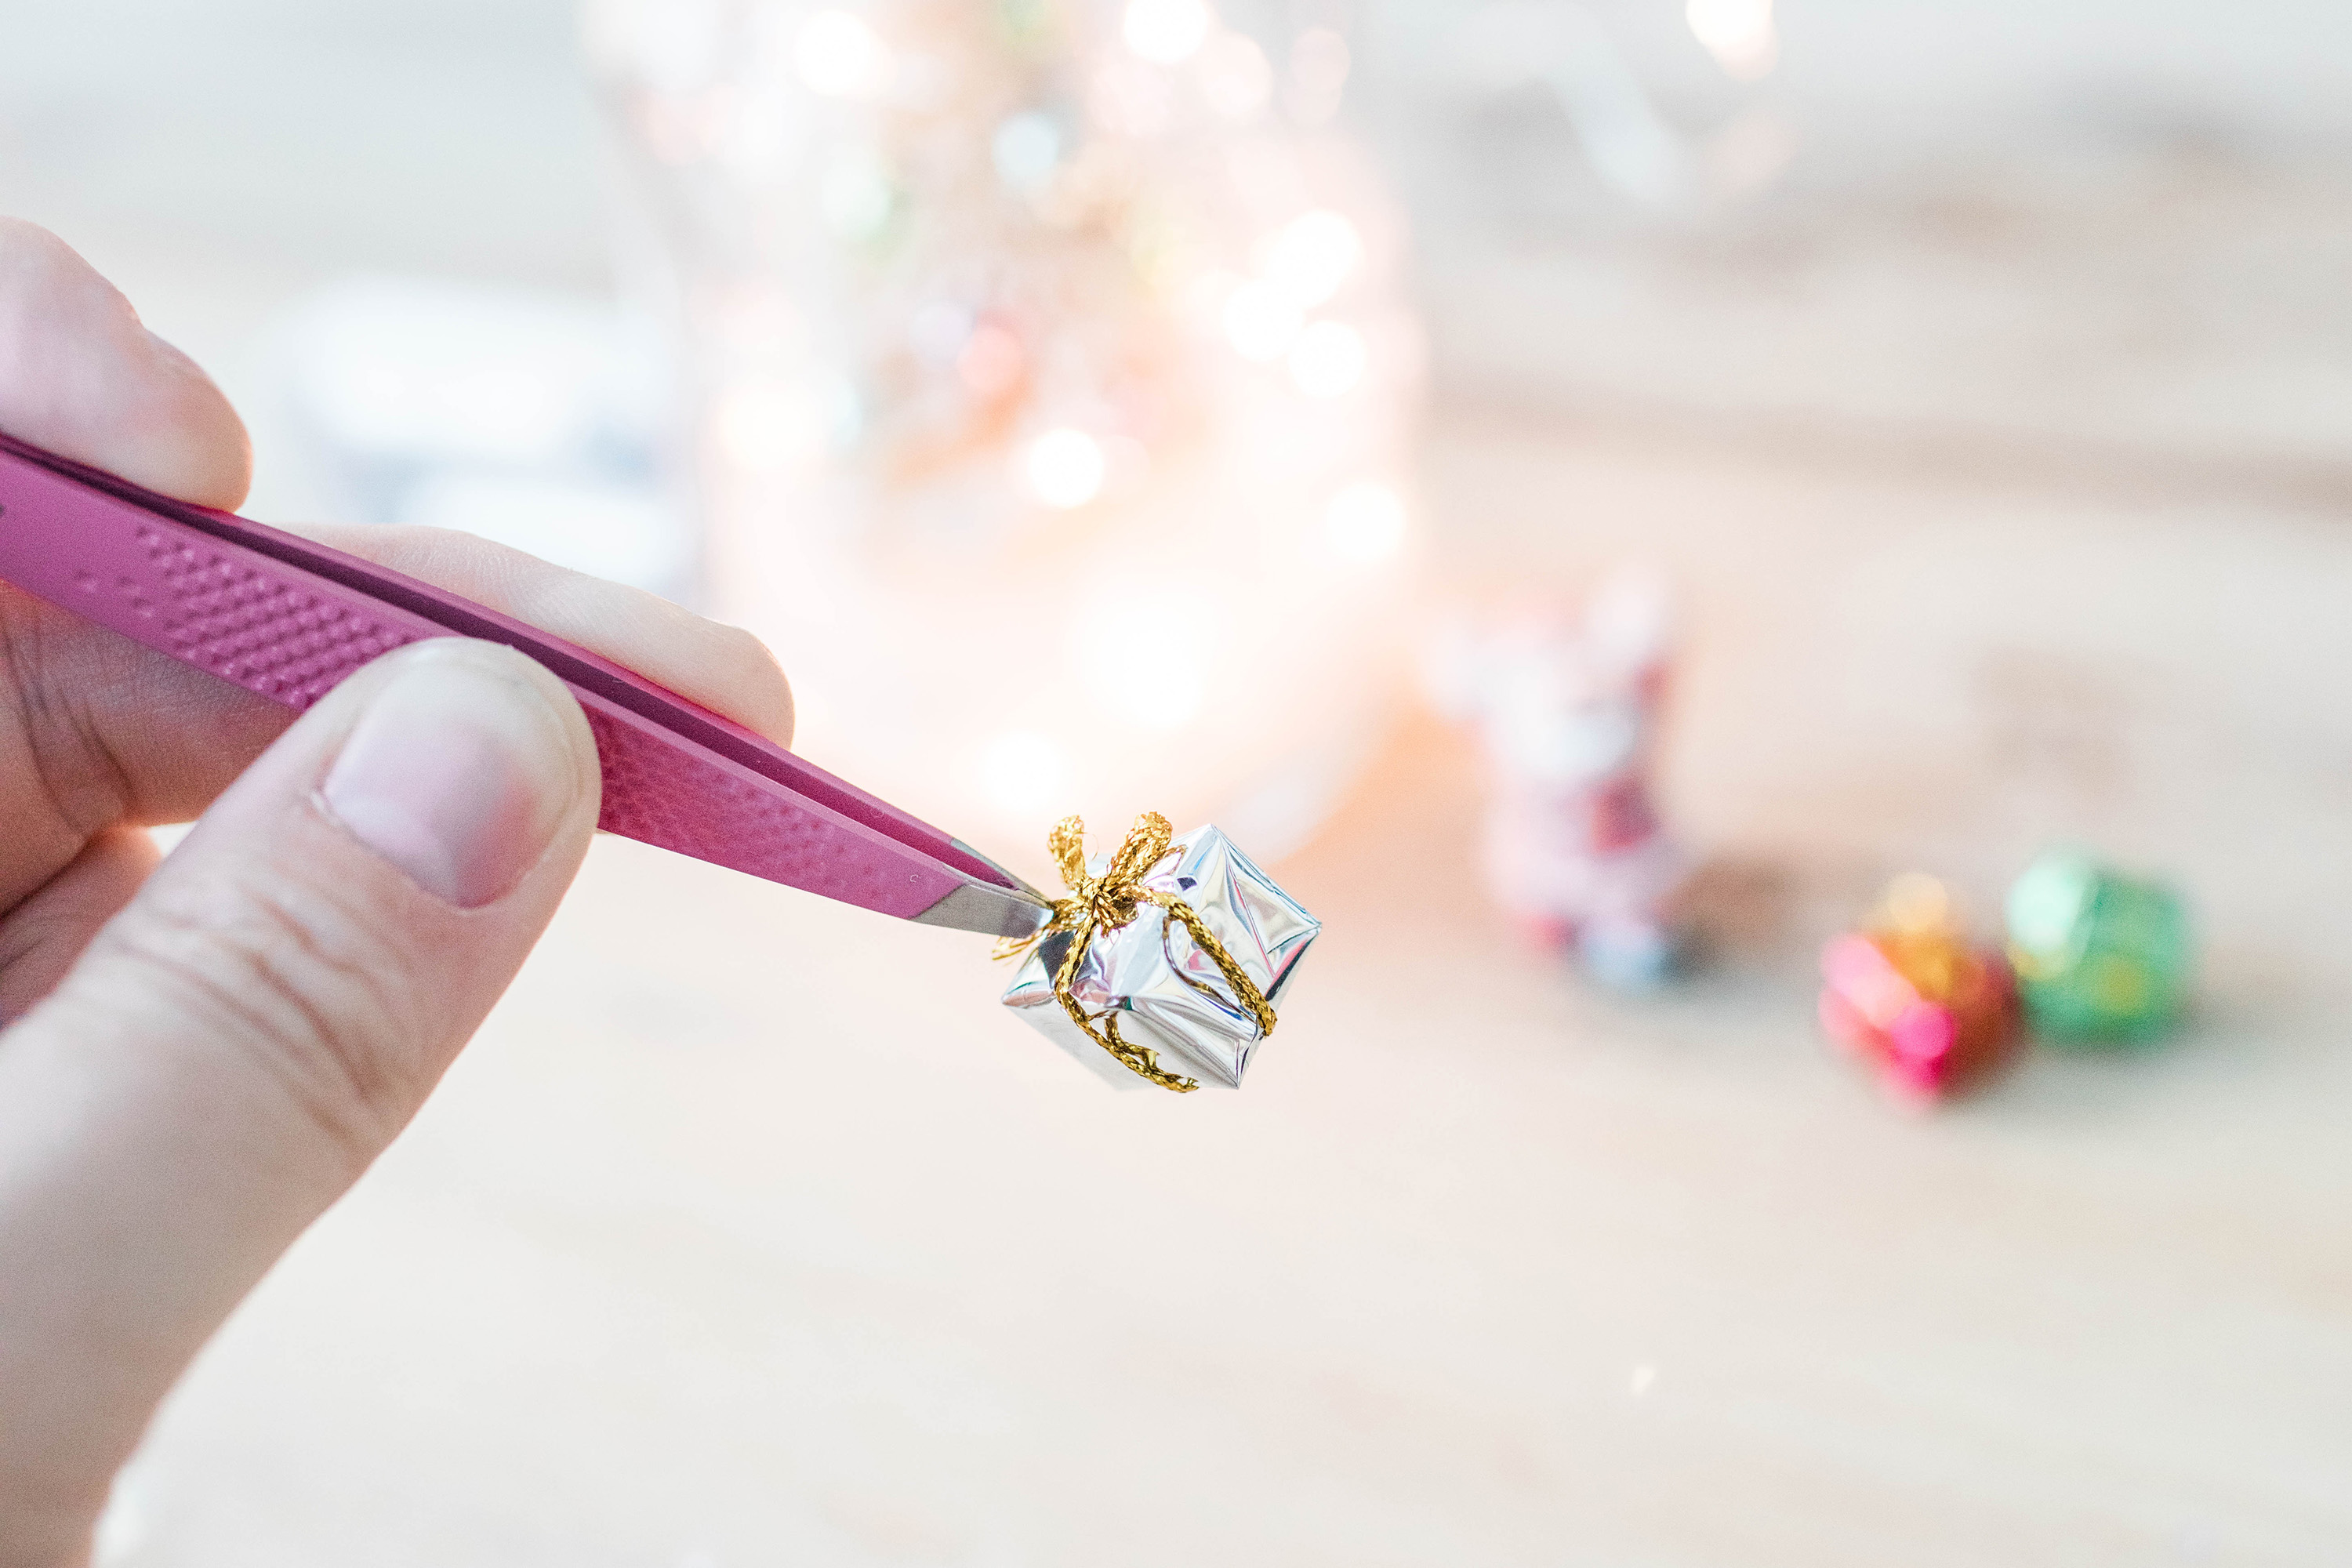
Step 8: unpackage the little Christmas gifts, and grab your tweezers- you’ll need them!
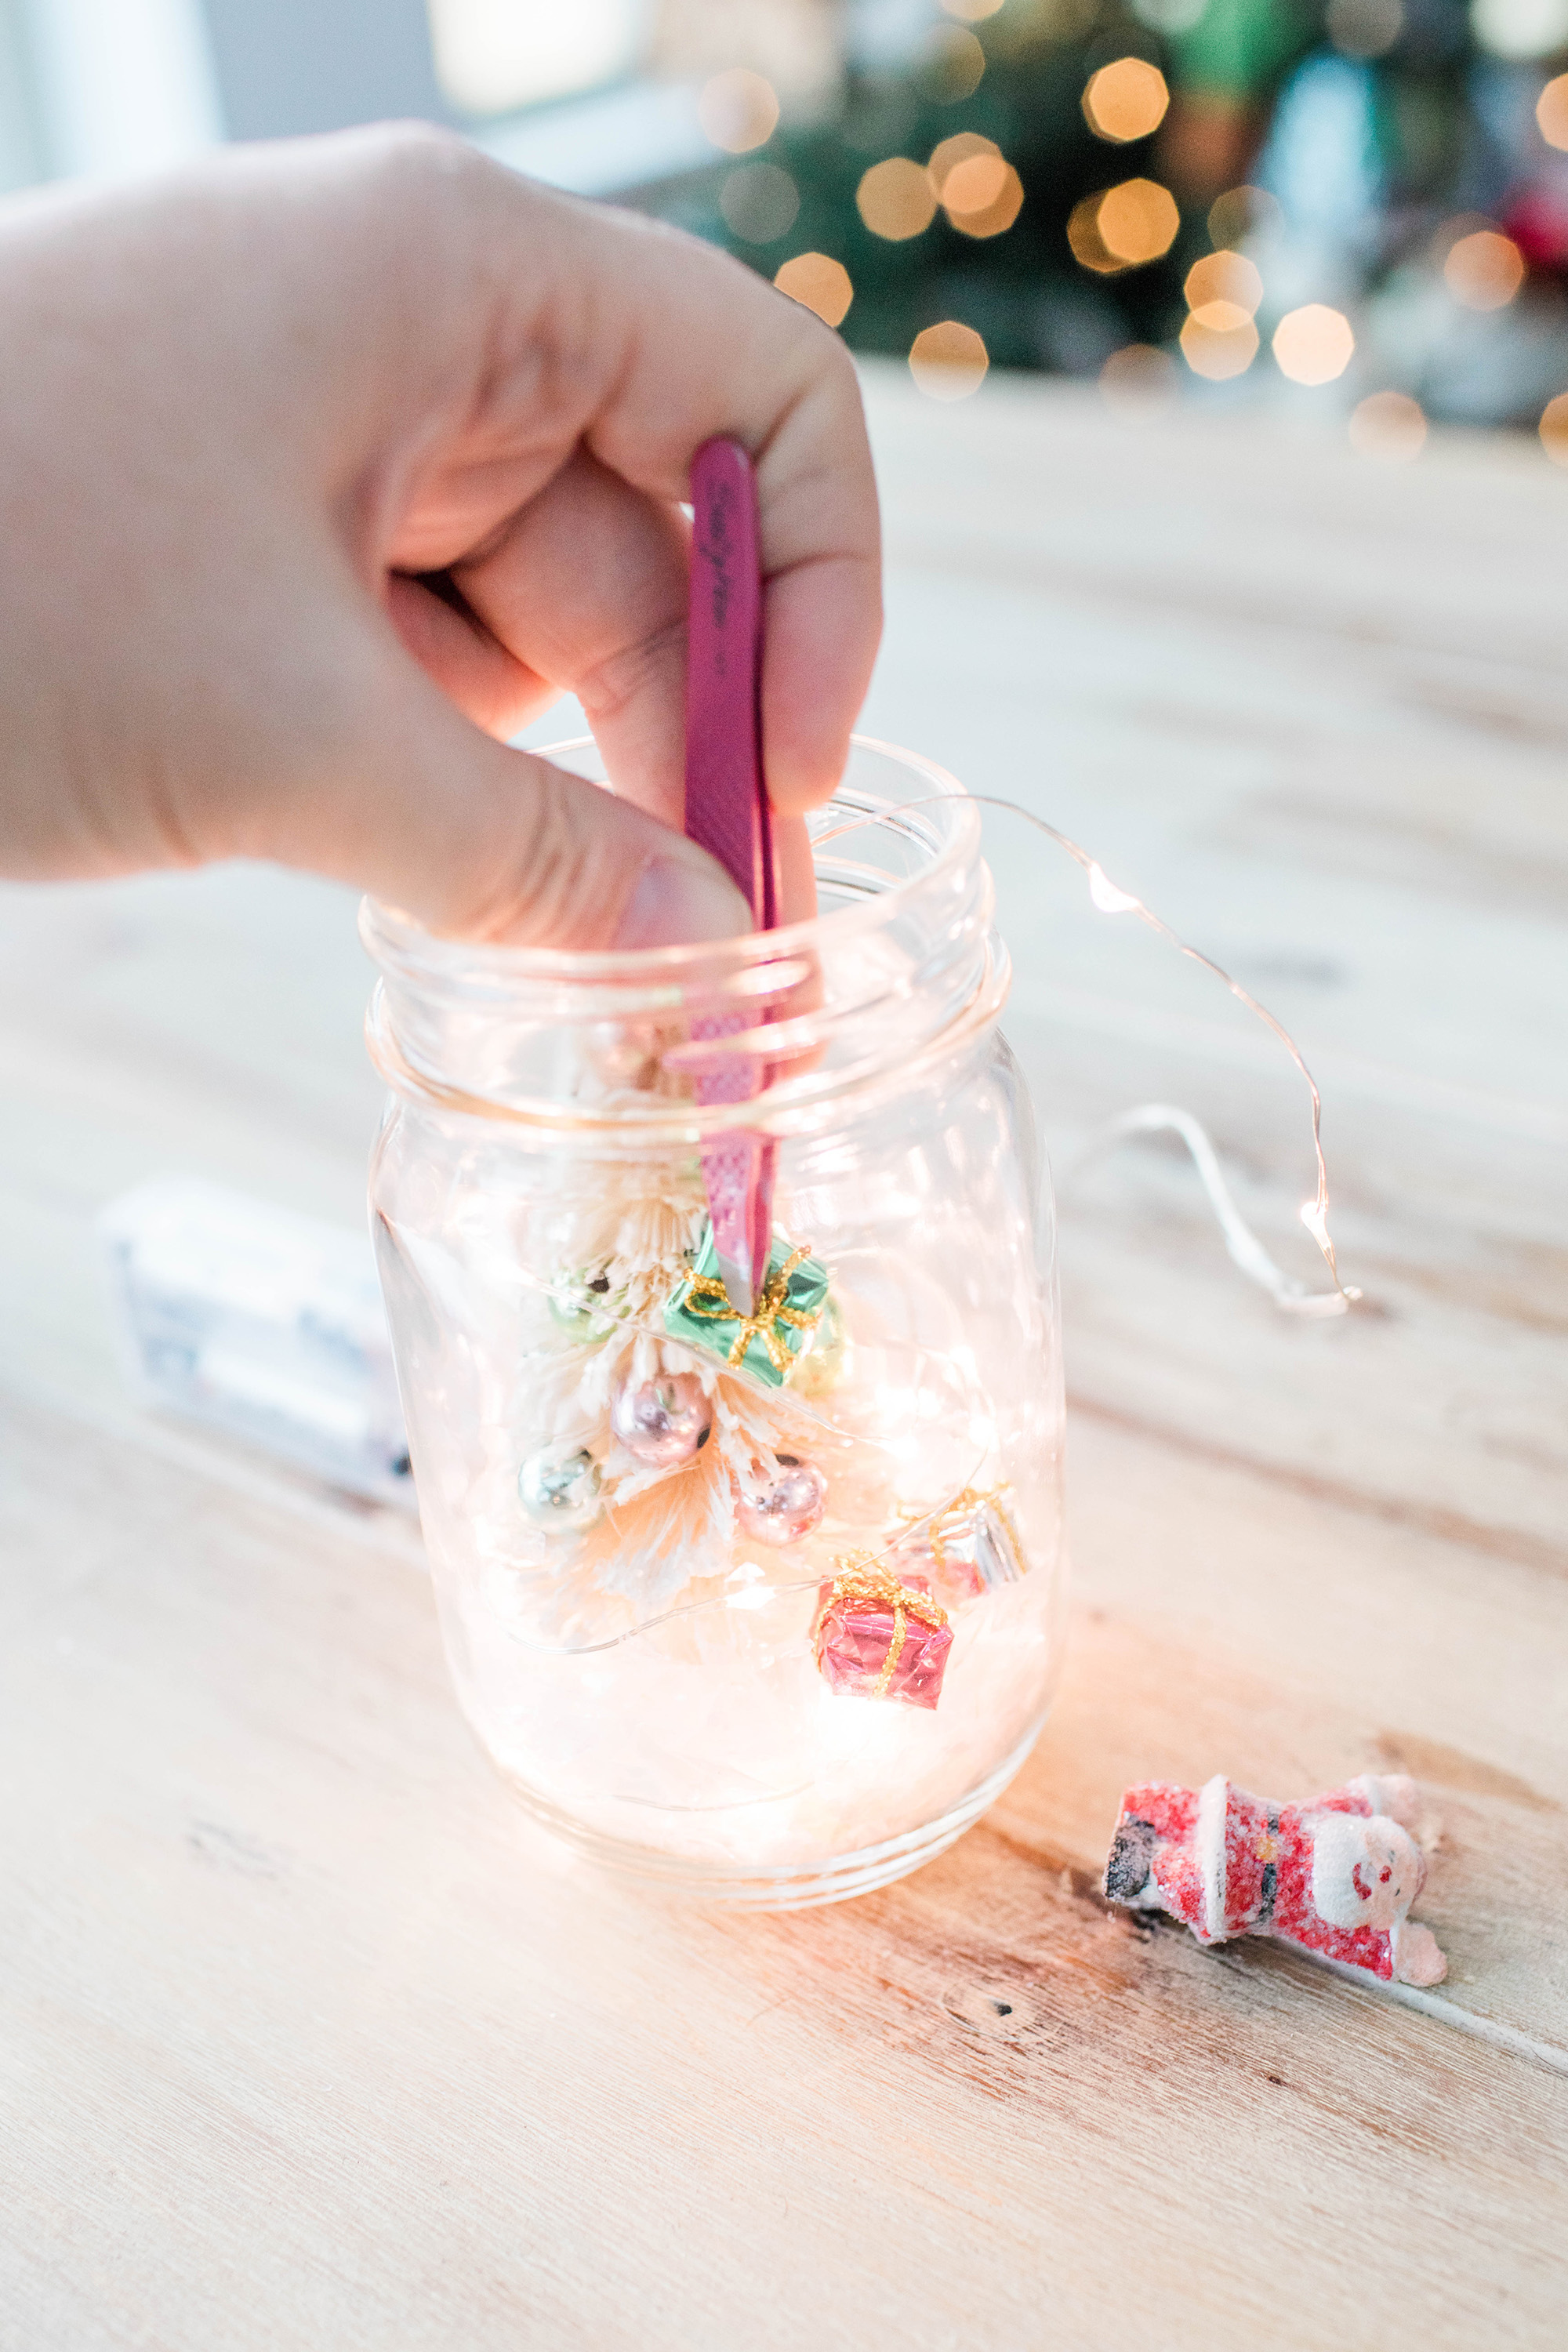
Step 9: With tweezers and tiny present in hand, carefully place the present with the bow facing up into the mason jar. Be sure to place these Christmas presents on the clear side of the mason jar, as this will become the “front” of the mason jar; NOT with the mason jar logo.
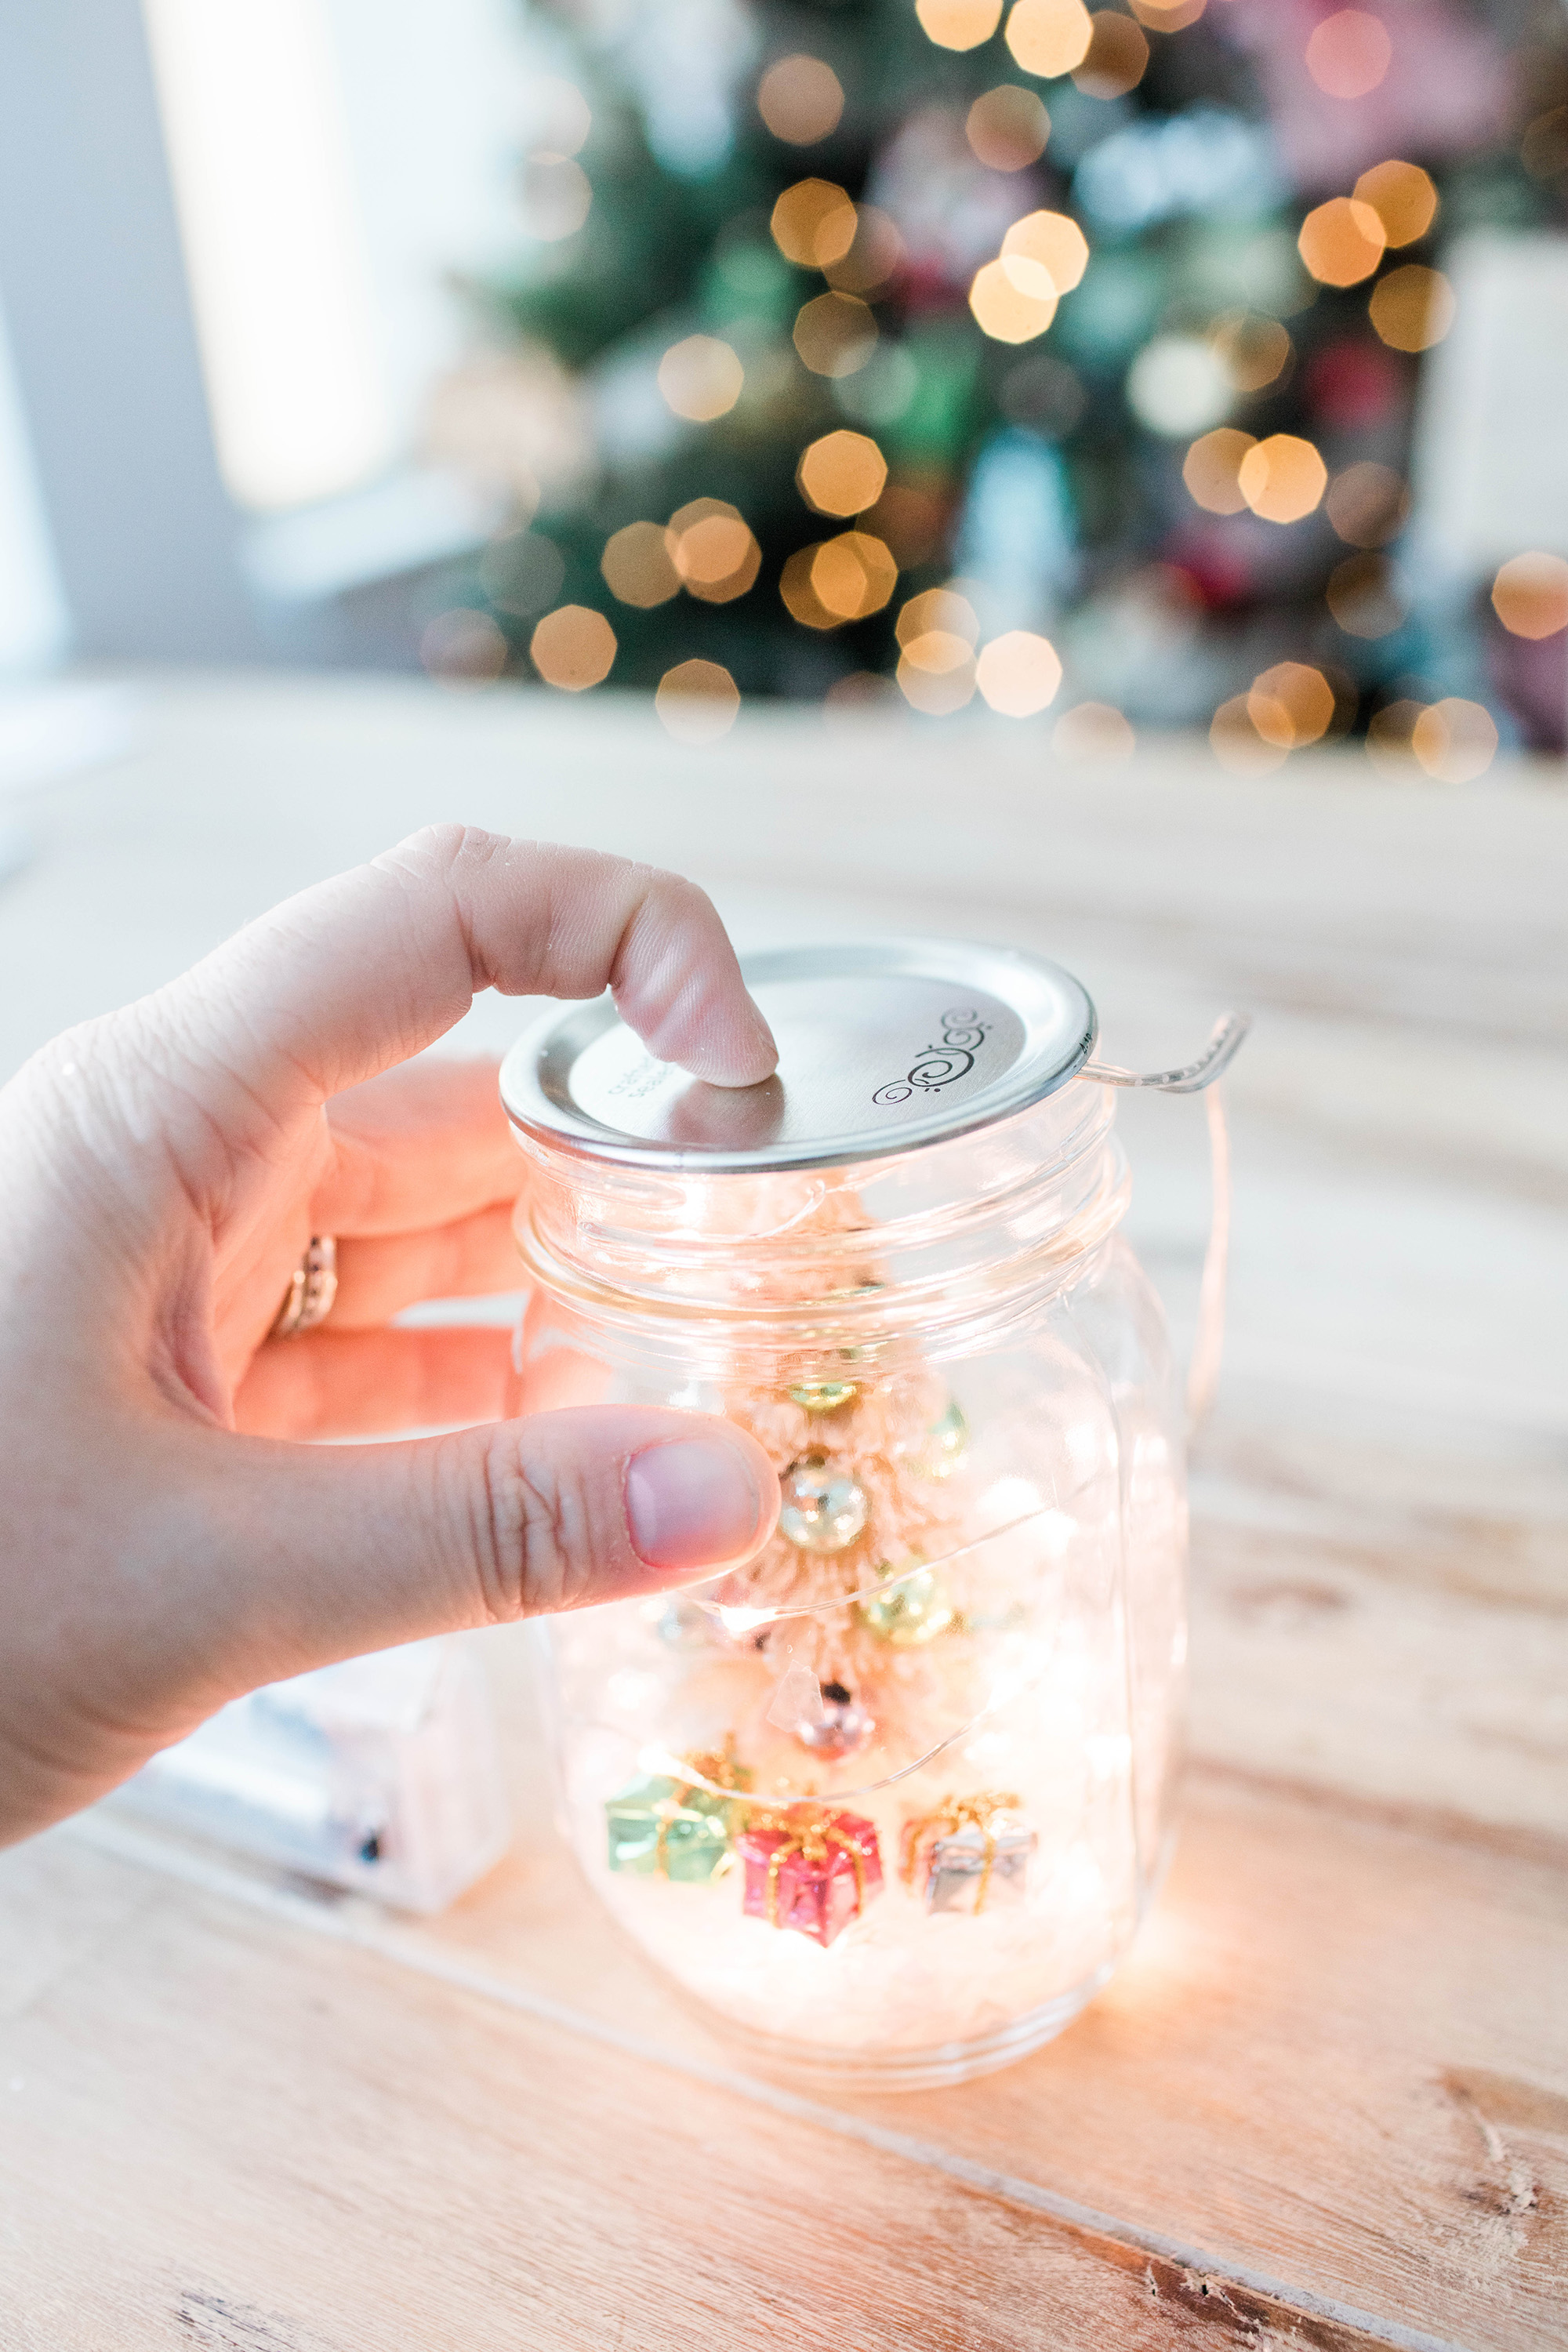
Step 10: seal the jar! This is where that extra wire to the battery pack is needed. Place the flat lid of the jar on top, and take the second portion of the mason jar (you know, that cylinder thing!) and place it as well. Twist the glass portion of the jar, not the top, to ensure a good seal without moving or yanking any of the LED lights. The top might feel a little tilted, but it should still be secure.
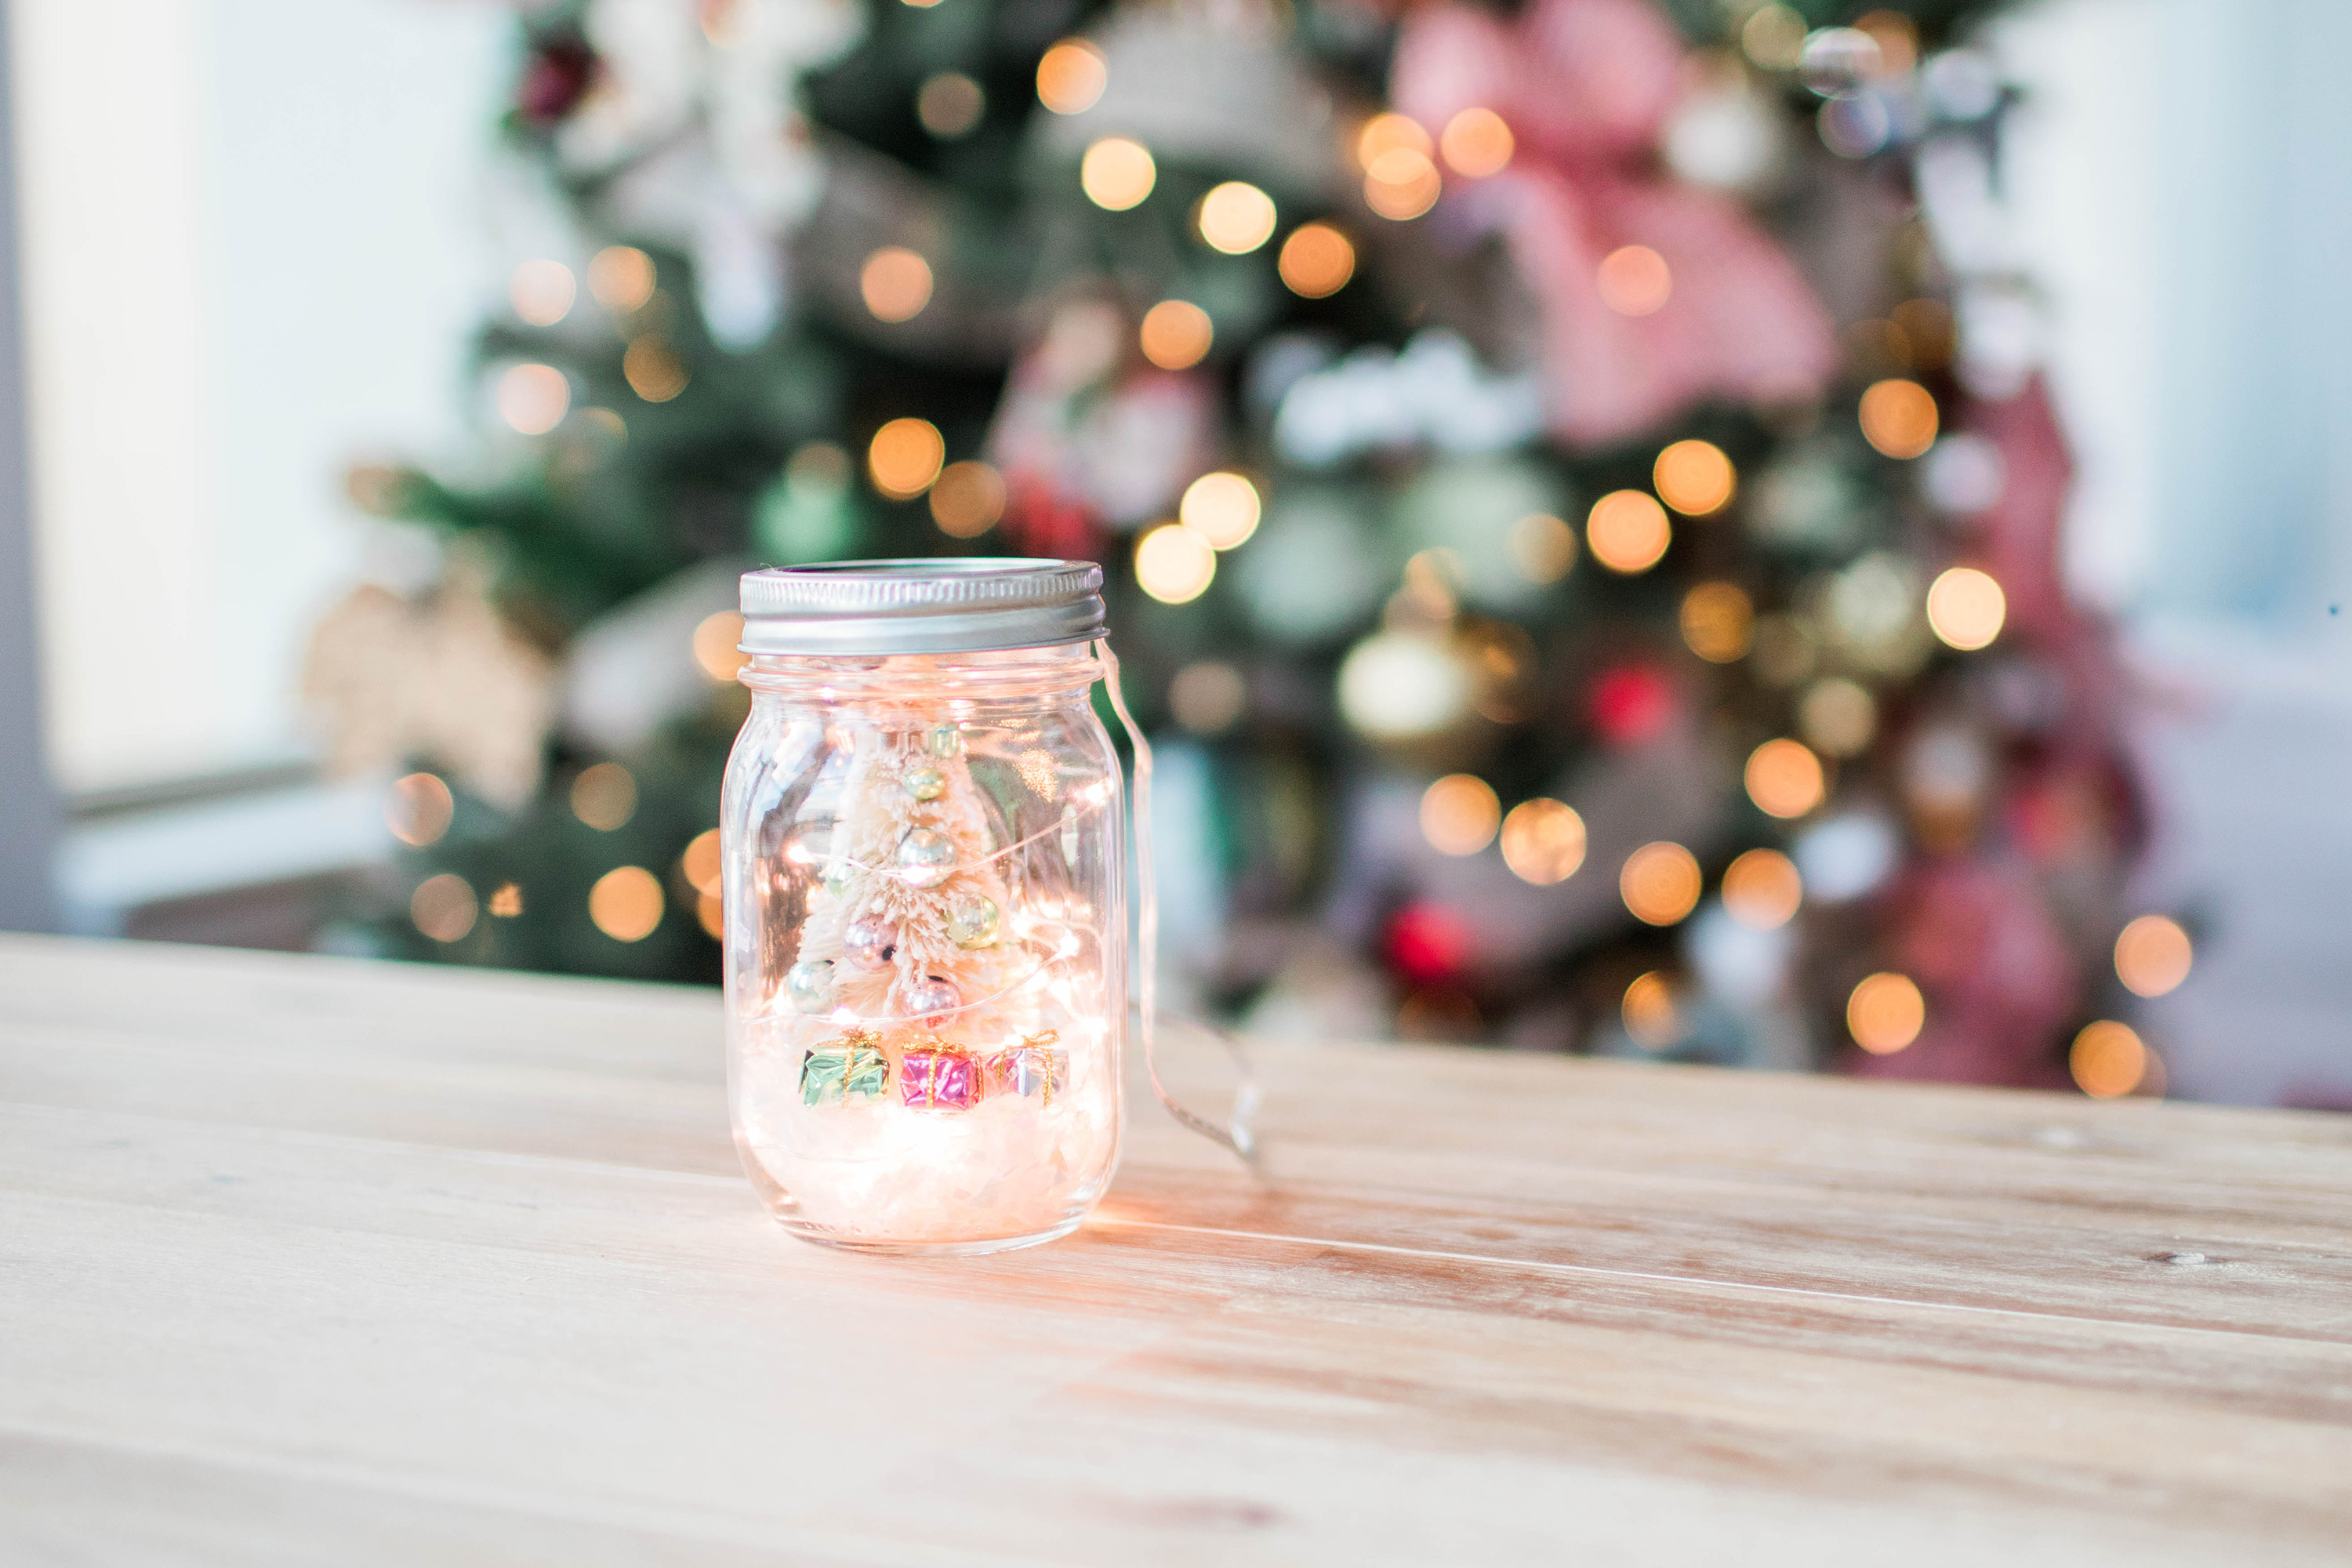
Woohoo! You’re finished!
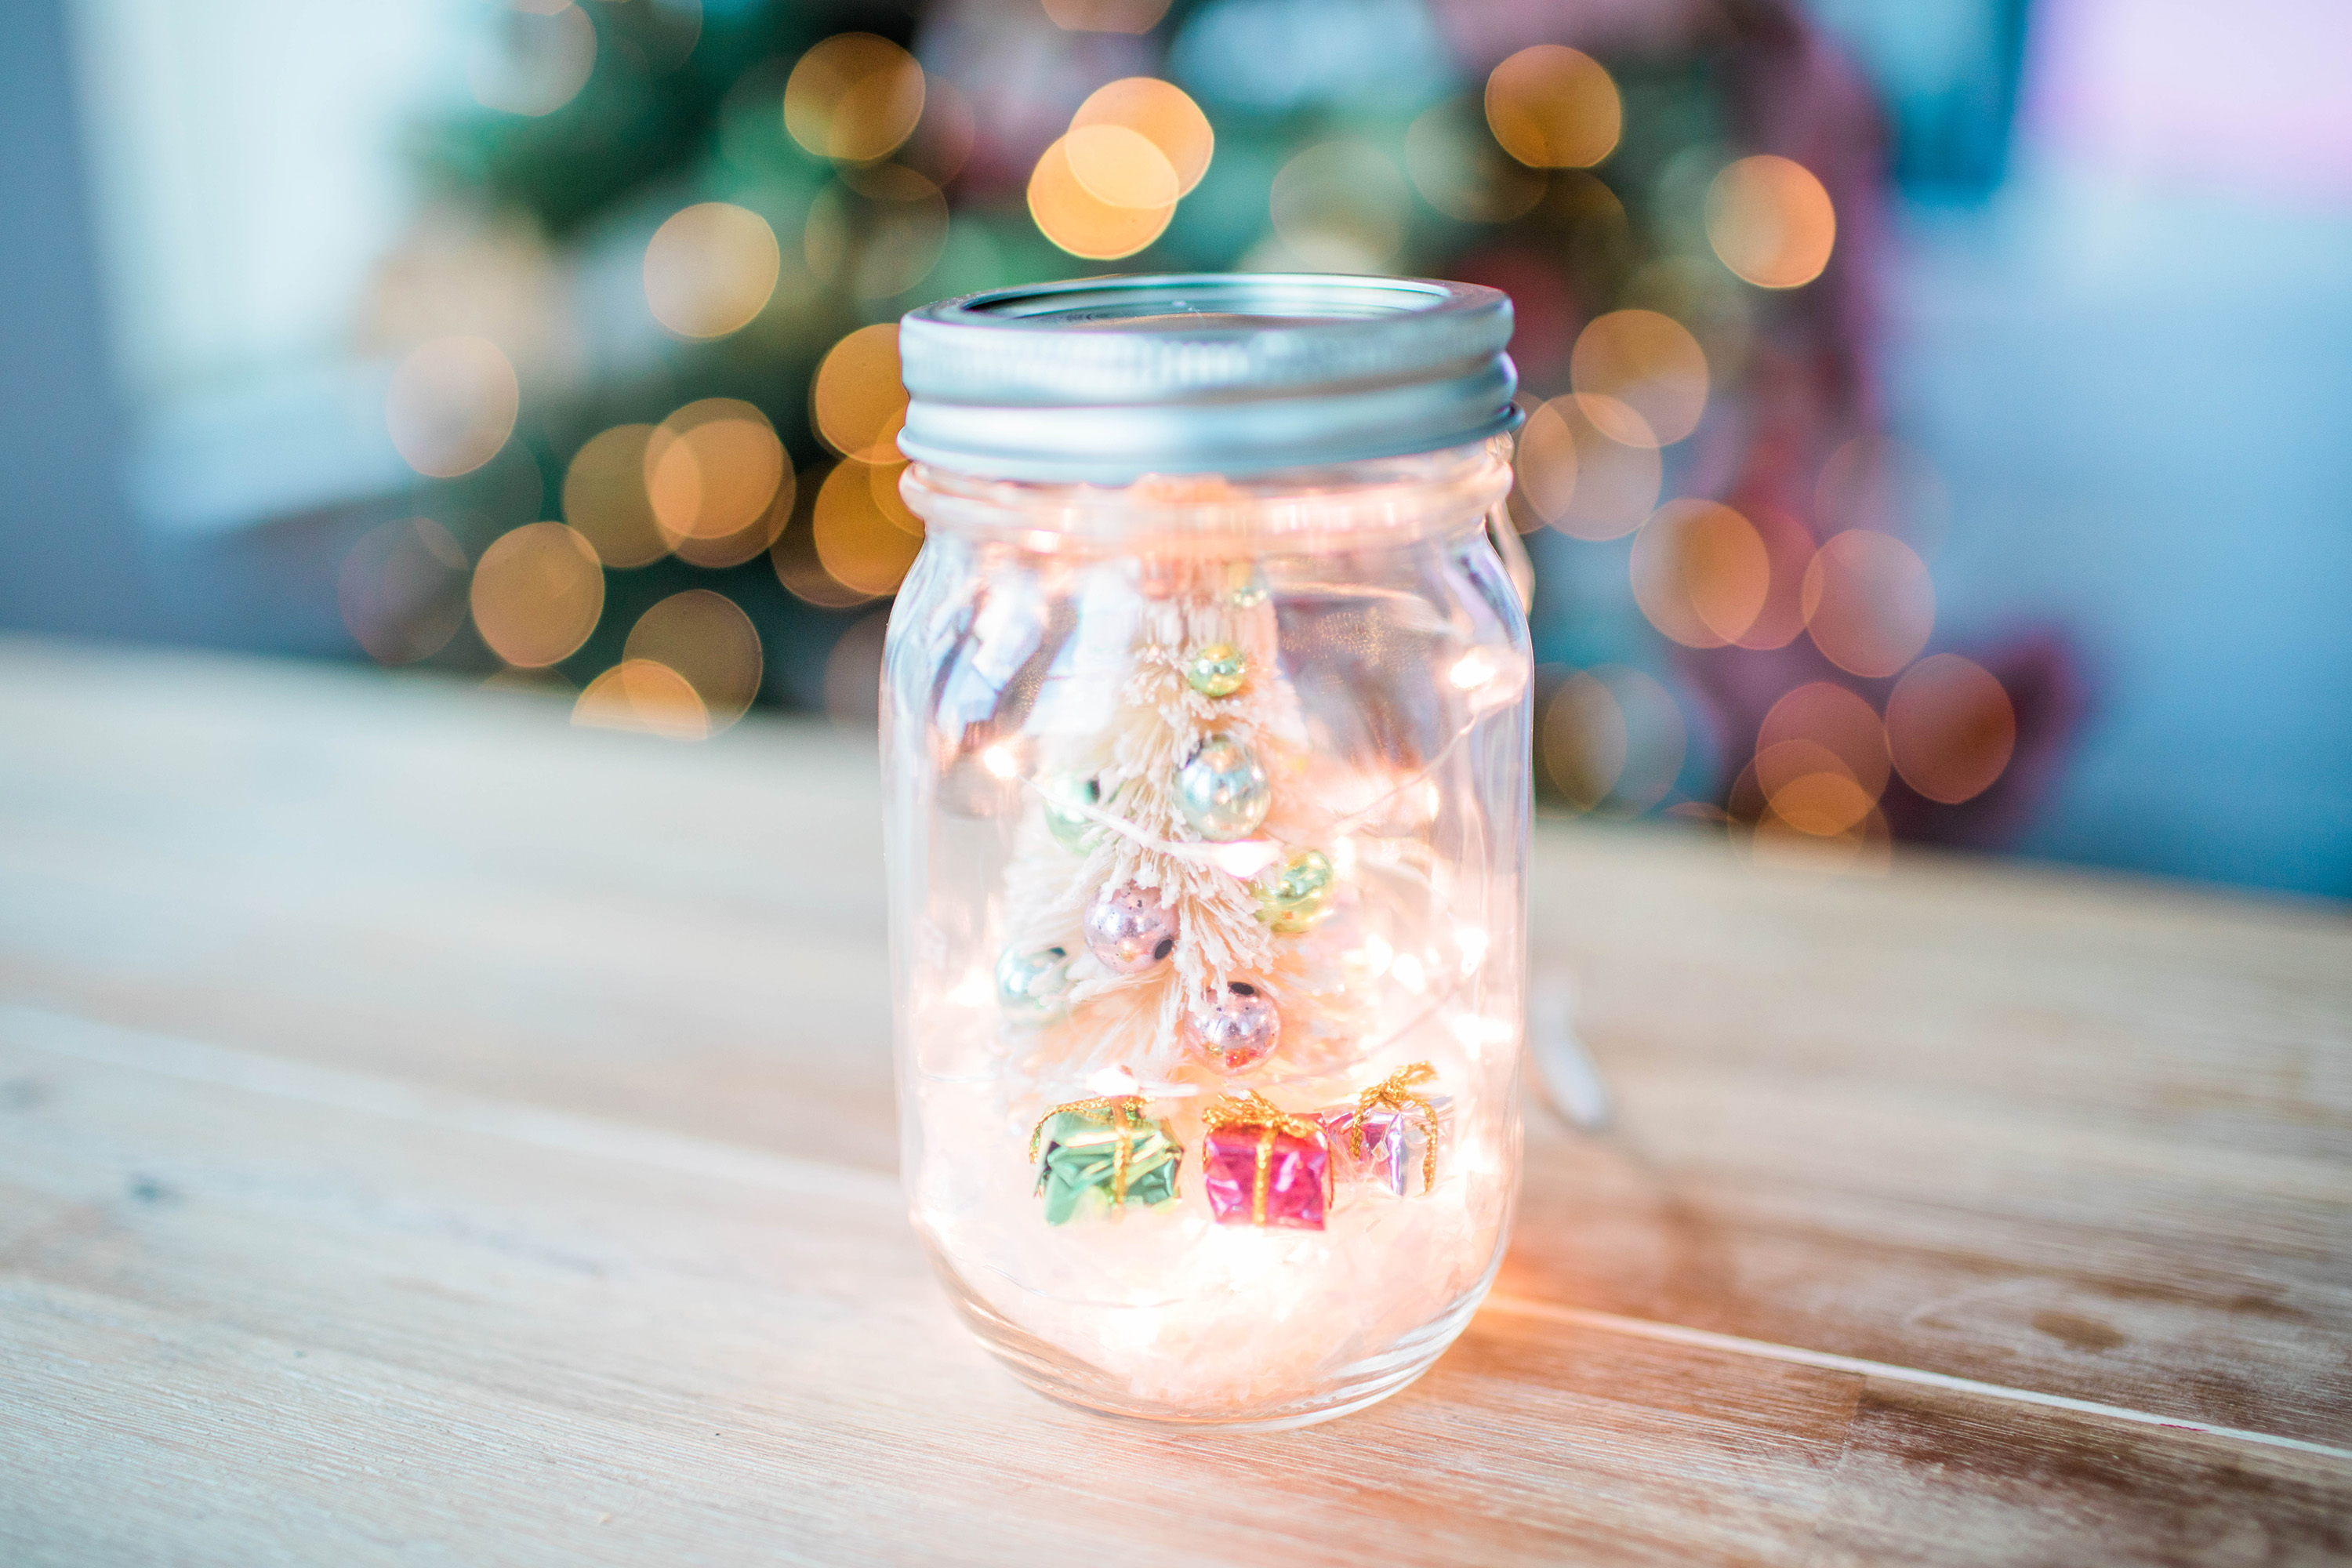
… and there you have it! This little guy is headed to one of our neighbors in the morning, and another similar one is headed down the hallway as well. I hope they love them!
If you make one of these mason jar minis, I’d love to see it! You can email photos to hello@faisonanne.com.
—
What is your favorite holiday happy to give to your neighbors?
